Every boat or fiberglass surface owner knows the importance of maintaining the integrity and appearance of their gelcoat. Gelcoat, a surface finish often used in boats, pools, and other fiberglass applications, serves as the first line of defense against the elements. Over time, however, it can become scratched, discolored, or cracked. Whether due to wear and tear or an unforeseen mishap, gelcoat repair can seem daunting. Fear not! This guide will equip you with the knowledge and skills to achieve a flawless finish, ensuring your gelcoat shines like new.
Understanding Gelcoat: What Is It?
Before diving into the techniques for gelcoat repair, let’s explore what gelcoat is and why it’s crucial. Gelcoat is a thick resin layer that provides a tough, durable finish to fiberglass surfaces. It protects against moisture and UV rays while enhancing the aesthetic appeal of your boat or fiberglass structure. Understanding its properties will give you a better foundation for your repair efforts.
Types of Gelcoat Damage
Damage to gelcoat can manifest in various forms:
- Scratches: Often superficial, caused by everyday use or contact with rough surfaces.
- Dullness and Oxidation: Regular exposure to the sun and water can lead to an unsightly, faded appearance.
- Cracks and Chips: These deeper blemishes require more intensive repair methods and can compromise the integrity of the underlying fiberglass if left untreated.
Recognizing the type of damage will help you choose the most effective gelcoat repair approach.
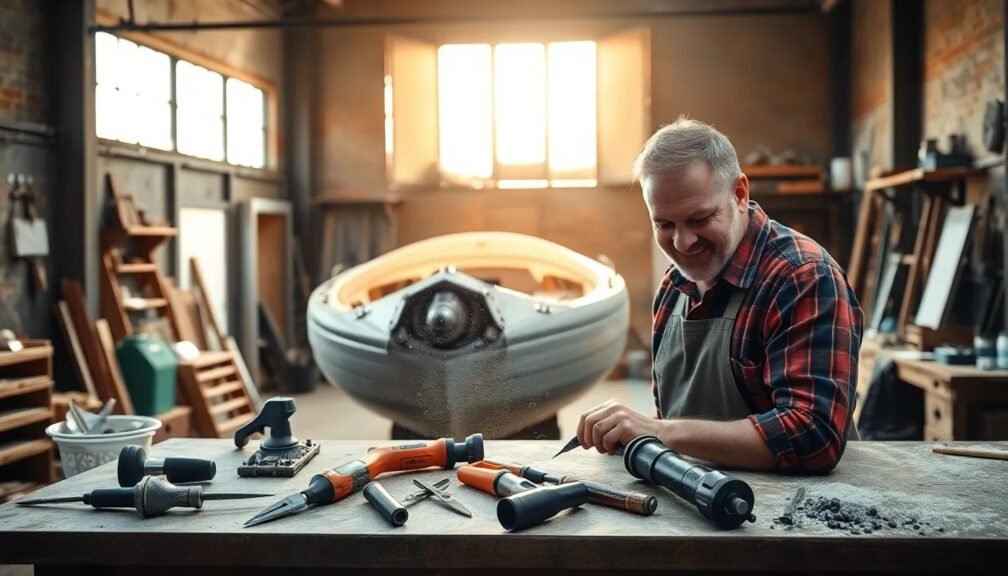
Essential Tools and Materials
Before starting your repair project, gather the necessary tools and materials. Here’s what you’ll need:
- Gelcoat Repair Kit: Available at marine supply stores, these kits often contain gelcoat compound, hardener, and color match additives.
- Sanding Tools: Sandpaper (various grits) and an orbital sander will be needed for smoothing surfaces.
- Clean Rags: For cleaning and applying finishes.
- Masking Tape: To protect areas that don’t need repair.
- Acetone or Isopropyl Alcohol: For cleaning surfaces before application.
- Paint Brush or Roller: To apply the gelcoat evenly.
- Safety Gear: Gloves, goggles, and a mask to protect against fumes and dust.
Step-by-Step Gelcoat Repair Process
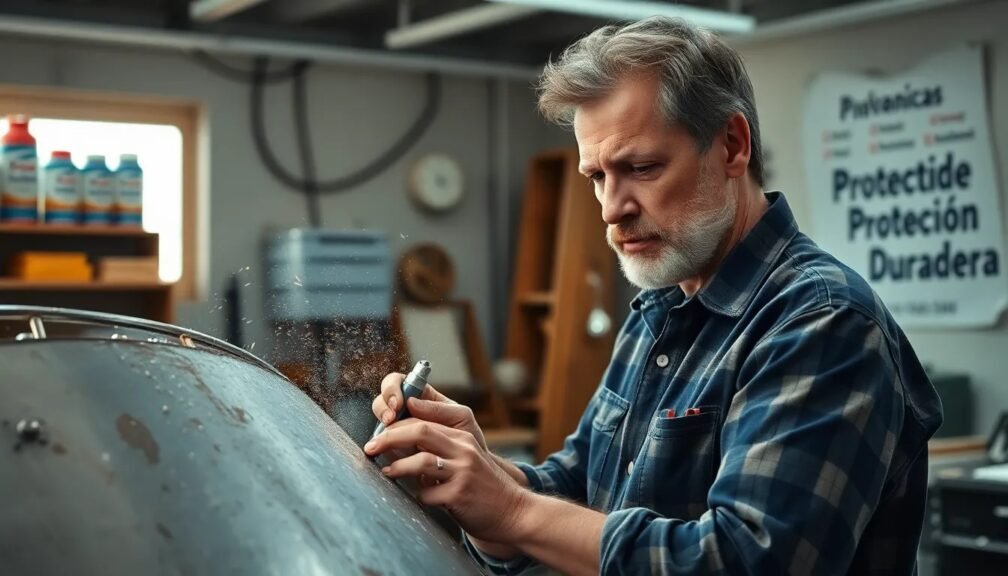
1. Assess the Damage
Begin by carefully inspecting the damaged area. Determine the depth and type of damage to understand the repair method needed. Take note of any color mismatches as you might need to mix your gelcoat accurately.
2. Clean the Area
Use acetone or isopropyl alcohol to clean the area around the damage. This removes any grime, oil, or debris that could interfere with adhesion. Make sure the surface is dry before proceeding.
3. Prepare the Surface
For scratches or small chips, lightly sand the damaged area with fine-grit sandpaper (around 400 grit). This helps create a rough surface for better bonding. For deeper cracks, use more abrasive sanding to widen the edges of the crack slightly, which promotes better adhesion of the gelcoat.
4. Mask Off Surrounding Areas
Applying masking tape around the repair area will protect adjacent surfaces from unwanted gelcoat application. This is crucial for achieving a clean and professional finish.
5. Mix the Gelcoat
Following the instructions provided with your gelcoat repair kit, carefully mix the gelcoat with the hardener. Pay attention to the mixing ratio to ensure proper curing. If you’re using a colored gelcoat, add the appropriate pigments to achieve a perfect match with the existing gelcoat.
6. Apply the Gelcoat
Using a paintbrush or roller, apply the mixed gelcoat over the damaged area. Fill any cracks or scratches generously, ensuring the new gelcoat overlaps onto the surrounding undamaged areas. Use multiple thin layers for best results, allowing each layer to cure as specified in the instructions.
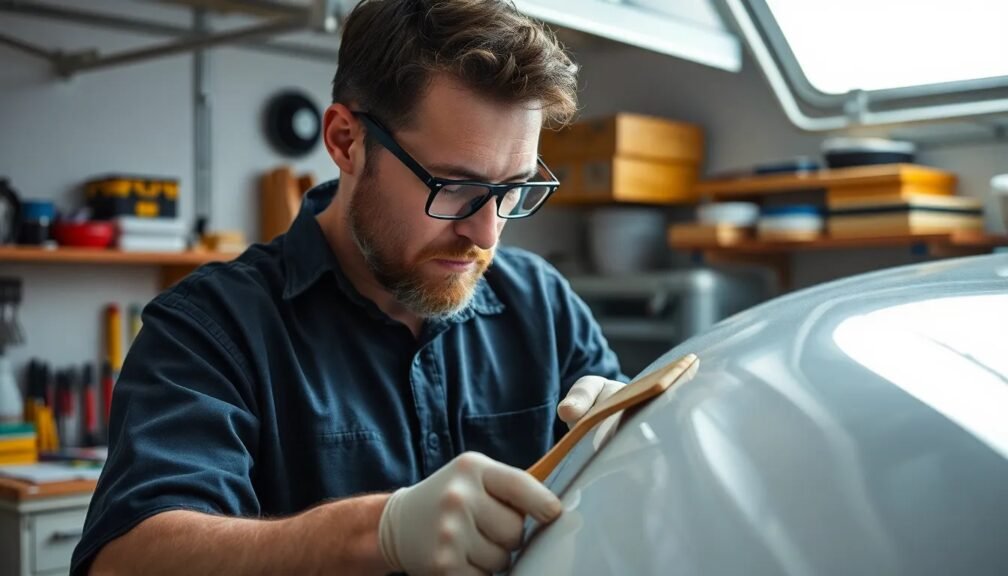
7. Sand the Repair
Once the final coat has cured, use fine-grit sandpaper to smooth the surface. Begin with 600 grit, and progressively move to higher grits (up to 2000 grit) for a glass-like finish. Be patient; this process is crucial for that flawless appearance.
8. Polish the Surface
After sanding, you may notice a dull finish. Use a quality marine polish or a buffing compound to restore shine. Apply it using a buffer or cloth and polish until you achieve the desired gloss level.
9. Clean Up
After ensuring the finish is perfect, remove the masking tape carefully. Clean your tools with appropriate solvents and dispose of any materials responsibly.
Tips for Best Results
- Color Matching: If it’s challenging to achieve an exact color match, consider using a color mixing guide or consulting with a professional.
- Temperature Considerations: Ensure that you’re working in an appropriate temperature range, usually between 60°F and 80°F (15°C – 27°C), to ensure optimal curing.
- Preventive Measures: Regular maintenance, like waxing your gelcoat, can prevent damage and make future repairs easier.
Conclusion: Embrace the Art of Gelcoat Repair
Gelcoat repair is an essential skill for anyone looking to maintain the beauty and integrity of their fiberglass surfaces. With the right tools, methods, and a bit of patience, achieving a flawless finish is entirely possible. By following these steps and tips, you’ll not only restore your boat or fiberglass surface but also enhance its lifespan.
Actionable Insights
- Start small: If you’re new to gelcoat repair, practice on less visible areas before tackling major repairs.
- Invest in quality materials: Opt for high-grade products and tools to ensure durability and longevity.
- Stay informed: Regularly read marine blogs and forums to stay up to date on the latest tips and techniques in gelcoat repair.
By adopting a proactive approach to gelcoat maintenance and repair, you can preserve that pristine look and enjoy your fiberglass investments for years to come!