When it comes to maintaining your boat, lower unit repair is often a daunting task for many boaters. Whether you’re a seasoned DIYer or a newcomer to boating maintenance, understanding the basics of lower unit repair can save you time, money, and frustration. In this comprehensive guide, we’ll walk you through every step of the process, ensuring that your boat is in top condition for your next adventure on the water.
What is the Lower Unit?
Understanding the Basics
The lower unit of a boat is the section located below the motor, housing critical components such as the propeller, drive shaft, and gear assembly. This part is responsible for transferring power from the engine to the propeller and is often submerged in water, making it susceptible to damage from harsh marine environments.
Common Issues with Lower Units
Lower unit problems often arise from:
- Water intrusion
- Gear wear and tear
- Cavitation damage
- Mechanical failure
Identifying these issues early can prevent extensive damage and costly repairs.
Step 1: Recognizing the Problem
Signs of Lower Unit Trouble
Before diving into repair, it’s essential to diagnose the issue. Keep an eye out for:
- Unusual noises while operating
- Leakage of oil or water
- Difficulty steering or controlling speed
If you notice any of these symptoms, it may be time for repairs.
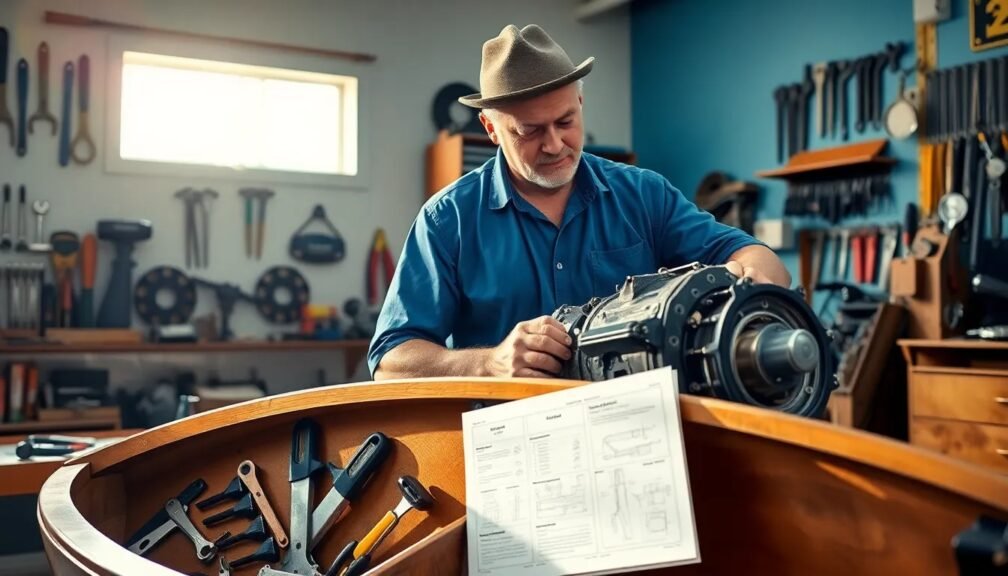
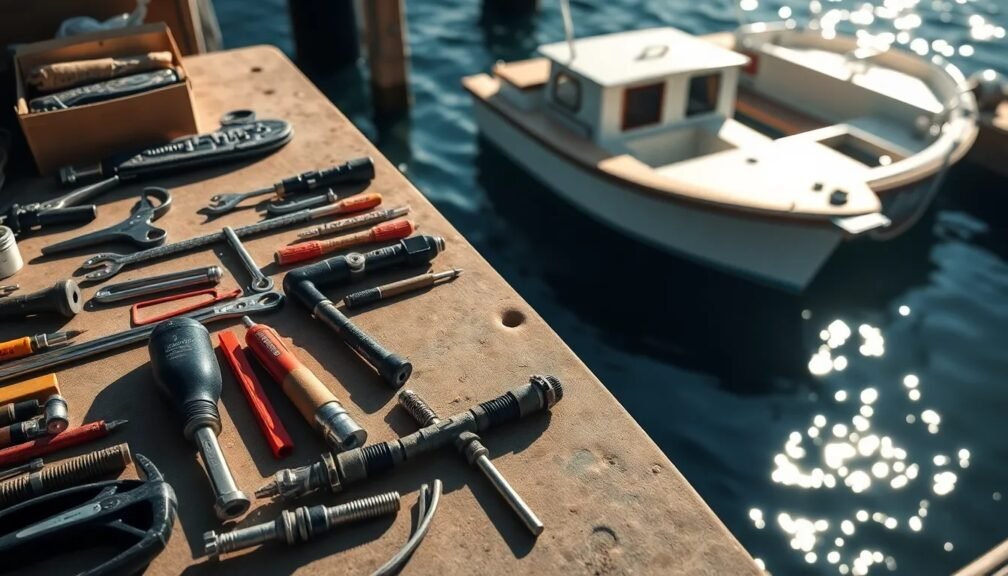
Step 2: Gathering Necessary Tools and Materials
Essential Tools for Lower Unit Repair
Before starting your lower unit repair project, you’ll need to collect the right tools. Here’s a short list of essentials:
- Socket set
- Wrenches
- Screwdrivers
- Pliers
- Oil pump
- Sealant
- Replacement parts (based on your specific diagnosis)
Additional Supplies
Make sure to have safety glasses, gloves, rags, and a sturdy workstation to keep your workspace organized and safe.
Step 3: Preparing for Lower Unit Repair
Safety First
Before beginning any repair work, ensure that your boat is secured and lifted safely. Disconnect the battery to prevent shocks and ensure the engine is cool to avoid burns while working.
Remove the Lower Unit
To access the components needing repair, you’ll need to remove the lower unit. Follow these steps:
- Detach the propeller by removing the cotter pin and nut.
- Locate and unscrew the bolts securing the lower unit to the midsection of the engine.
- Disconnect any electrical connectors or cables.
- Carefully lower the unit, checking for any remaining connections.
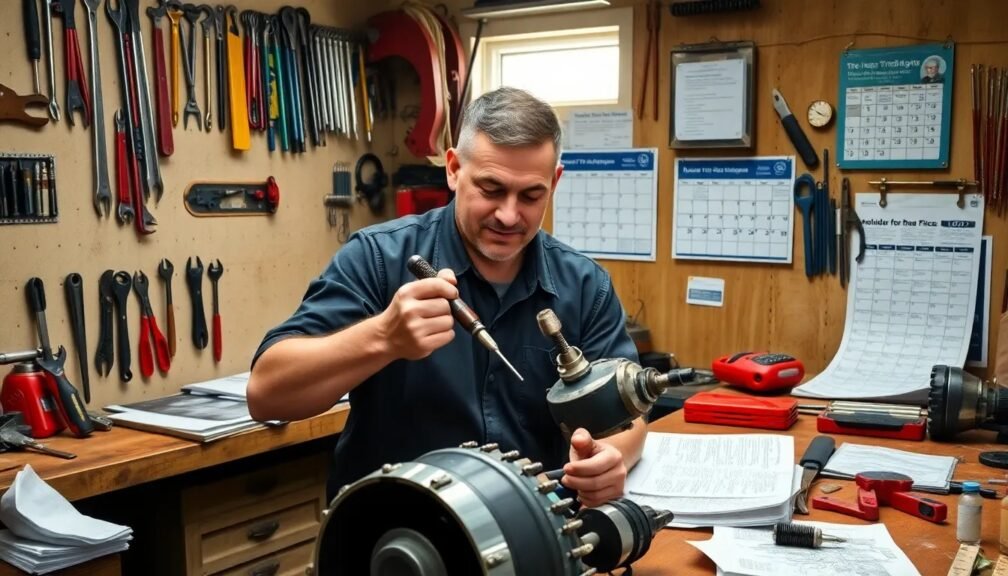
Step 4: Disassembling the Lower Unit
Accessing Internal Components
Once the lower unit is removed, disassemble it to examine the internal components:
- Remove the retaining screws and carefully pull apart the gear housing.
- Take note of the arrangement of gears and other parts for reassembly purposes.
Inspecting for Damage
Look for signs of wear, pitting, or any broken parts in the gears and shafts. If you find anything damaged, make a list of parts required for replacement.
Step 5: Performing Lower Unit Repairs
Common Repairs and Solutions
Depending on the issues diagnosed, here are typical repairs you might need to perform:
- Seal Replacement: If you notice oil leaks, the seals may need replacing. Clean the area and install new seals carefully.
- Gear Replacement: For worn or damaged gears, remove the old parts and install new ones, ensuring proper alignment.
- Propeller Repair: Inspect your propeller for bending or cracks. If repair isn’t viable, a replacement may be necessary.
Cleaning Components
Use a solvent and a brush to clean all components before reassembly. This ensures optimal performance and longevity.
Step 6: Reassembling the Lower Unit
Reinstallation Process
Carefully reassemble the lower unit:
- Replace the gear housing cover, tightening screws to the manufacturer’s specifications.
- Reattach the propeller and its retaining hardware.
- Reconnect any electrical connectors or cables previously removed.
Conducting Final Checks
Before sealing everything up, check for any misalignments or loose connections. Ensure the entire unit is clean and ready for the next step.
Step 7: Refilling Gear Oil
Choosing the Right Gear Oil
Selecting the correct gear oil is crucial for lower unit performance. Always refer to your owner’s manual for specifications to ensure proper viscosity and composition.
Refilling Process
- Use an oil pump to fill the lower unit through the designated hole until the oil starts to overflow. This indicates the unit is full.
- Install the fill plug, ensuring no oil leaks occur.
Step 8: Testing Your Repair
Reattaching and Testing on Water
Once everything has been reassembled and filled, it’s time to reattach the lower unit to the boat and take it for a test run. Monitor the unit for unusual noises or leaks while operating at low speeds initially to ensure everything is working correctly.
Conclusion: Tips for Successful Lower Unit Repair
Lower unit repair might seem intimidating at first, but with careful attention to detail, the right tools, and a bit of patience, it can be done successfully. Always wear safety gear, follow manufacturer guidelines, and keep a clean workspace to ensure optimal results.
Actionable Insights
- Regular Maintenance: Regularly inspect your lower unit for signs of wear to prevent larger issues in the future.
- Document Repairs: Keep a log of repairs and tests carried out on your lower unit for future reference.
- Seek Professional Help: If you’re unsure or uncomfortable with any part of the repair, don’t hesitate to consult a professional.
With this step-by-step guide, you’re now equipped to handle your lower unit repair effectively, ensuring your boat remains reliable and enjoyable for years to come. Happy boating!