Are you a proud owner of an aluminum boat? Whether you use it for fishing, leisure, or exploration, maintaining your vessel is crucial for its longevity. While professional repair services are available, many do-it-yourself (DIY) enthusiasts prefer to tackle aluminum boat repairs on their own. This article will guide you through essential tips and techniques for effective aluminum boat repair, ensuring you can keep your boat in top condition without breaking the bank.
Understanding Aluminum Boats
Aluminum boats have gained popularity for their lightweight, durability, and corrosion resistance. However, like any watercraft, they are prone to wear and tear. Common issues include scratches, dents, and leaks. Knowing how to repair these issues can save you significant money while enhancing your skills.
Common Aluminum Boat Problems
To effectively execute aluminum boat repair, it’s important to identify common issues you might face:
-
Dents and Dings: Often caused by collisions with docks or other boats, these minor damages can affect performance and aesthetics.
-
Leaking Seams: Over time, sealants can degrade, leading to leaks at rivets and seams, which can be detrimental if not addressed quickly.
-
Corrosion: While aluminum boats are resistant to rust, they can still suffer from a form of corrosion known as pitting.
-
Scratches: Scratches can expose the aluminum to environmental elements, potentially leading to corrosion if not remedied.
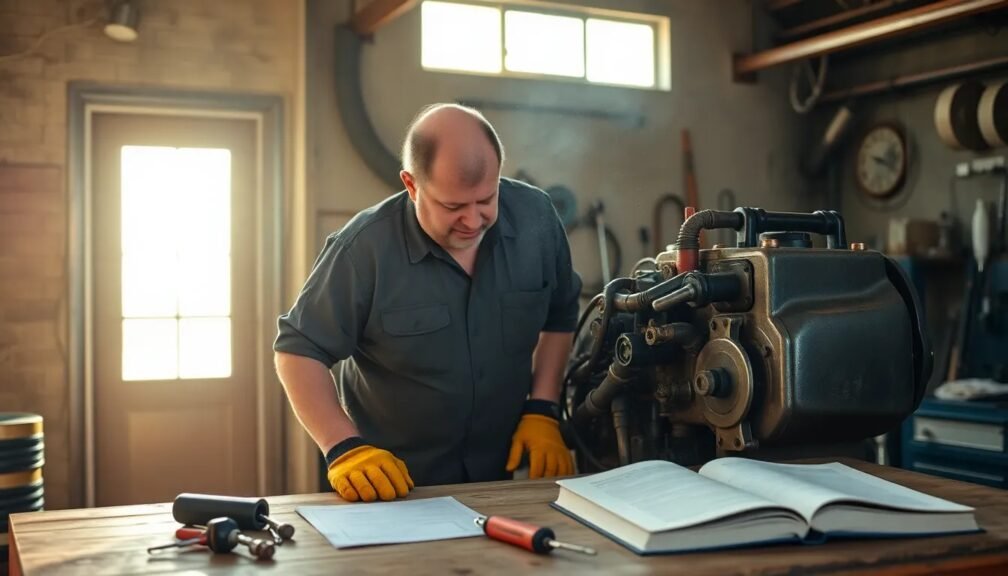
Safety First: Preparing for Repairs
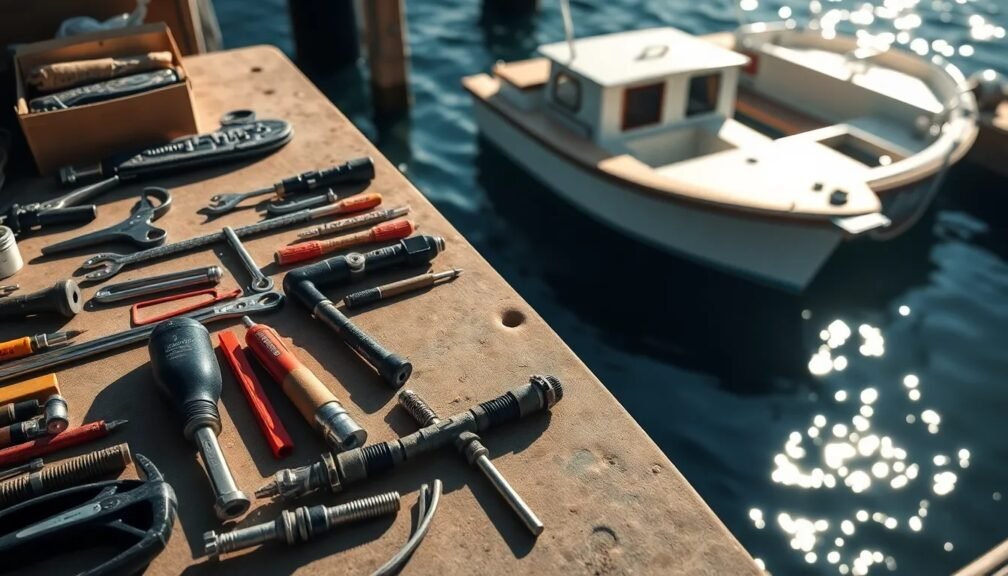
Before you start an aluminum boat repair project, safety should always be your priority. Make sure you have the following tools and materials at your disposal:
- Epoxy or Weld Repair Kits: Depending on the severity of the damage.
- Sandpaper and Scuff Pads: For prepping surfaces.
- Marine Sealants: For sealing seams and joints.
- Protective Gear: Gloves, goggles, and a mask are essential to keep yourself safe during repairs.
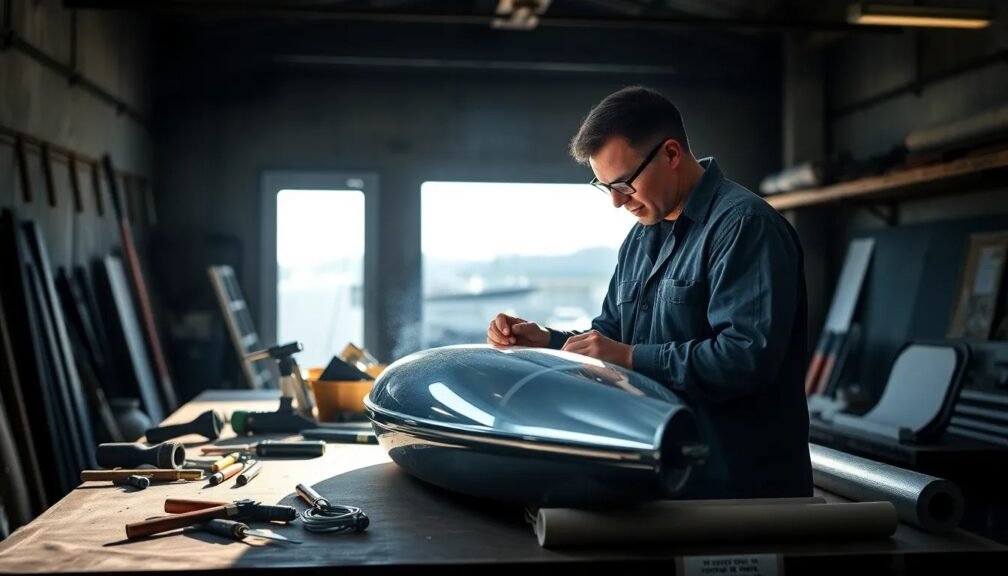
Step-by-Step Repair Techniques
Fixing Dents and Dings
Dents are common in aluminum boats and can be addressed with the following steps:
-
Assess the Damage: Determine the size and depth of the dent. Minor dings may be repaired with hand tools, while larger ones might require specialized equipment.
-
Heat Method for Minor Dents: Use a heat gun to warm the affected area slightly, then apply a block of wood against the dent and gently tap with a hammer. The heat expands the metal, making it more pliable.
-
Pulling Method for Larger Dents: For deeper dents, a dent puller can be useful. Clean the area, apply a special adhesive, and attach the puller. Once the dent is pulled out, sand the area smooth.
-
Finishing Touches: After the dent is removed, sand down the area to prepare it for painting, then apply a layer of marine-grade aluminum paint to protect against corrosion.
Sealing Leaks in Seams
Sealing leaks is one of the most critical aspects of aluminum boat repair:
-
Identify Leaks: Inspect your boat for water accumulation. A simple water test can help find leaks.
-
Clean the Area: Use sandpaper to clean around the leaky seam. Ensure all old sealant is removed.
-
Apply Marine Sealant: Inject a high-quality marine sealant into the seam using a caulking gun. Ensure it fills the entire gap.
-
Smooth the Surface: Use a putty knife to smooth out the sealant for an even finish.
-
Curing Time: Allow the sealant to cure fully according to the manufacturer’s instructions before testing for leaks again.
Addressing Corrosion
Corrosion can be particularly damaging if left untreated. Here’s how to handle it:
-
Locate Corroded Areas: Inspect the entire surface of your boat regularly for signs of pitting or corrosion.
-
Sand Down the Corrosion: Use medium-grit sandpaper to remove all signs of corrosion, down to healthy metal.
-
Apply a Corrosion Inhibitor: Follow up with an aluminum-specific corrosion inhibitor to protect the area.
-
Paint Over the Area: Use a marine-grade aluminum paint to recoat the repaired area, ensuring full protection from the elements.
Repairing Scratches
Scratches may be minor but can lead to bigger problems if not addressed:
-
Inspect the Scratch: Determine whether it’s superficial or if it penetrates deeper into the aluminum.
-
Sand the Area: Lightly sand around the scratch to prepare for further treatment.
-
Repair or Fill: For deep scratches, use aluminum epoxy to fill them in. For surface scratches, a simple polish may suffice.
-
Finish with Paint: Once repaired, paint over the area with protective marine-grade enamel.
Maintenance Tips to Prevent Future Damage
After addressing repairs, preventive measures can significantly prolong the life of your aluminum boat:
- Routine Inspections: Regularly check for scratches, dents, and leaks.
- Wash After Use: Rinse your boat with fresh water after each outing to remove salt and debris.
- Store Properly: If possible, store your boat indoors or under a protective cover to shield it from the elements.
- Regular Cleaning: Use mild soap and water to clean the exterior and check seams and rivets for wear.
Conclusion: Taking Back Control
Aluminum boat repair might seem daunting initially, but with the right tools and knowledge, it’s a manageable task for DIY enthusiasts. By addressing dents, leaks, corrosion, and scratches promptly, you can keep your boat in excellent condition.
Remember, regular inspections and maintenance go a long way in preventing serious issues, saving you time and money in the long run. Embrace the challenge of aluminum boat repairs, and enjoy the satisfaction that comes with self-sufficient boat ownership!
By following these essential tips, you’ll not only enhance your skills but also enrich your boating experience. Grab your tools, hit the water, and enjoy the fruits of your labor. Happy boating!