Owning a boat is a thrilling experience, but it’s not without its challenges. One common issue boat owners face is the need for fiberglass repair. Your vessel is constantly exposed to harsh marine environments, which can lead to wear and tear. Whether it’s a small crack or a larger hole, knowing how to handle boat fiberglass repair can save you time and money. In this article, we’ll delve into essential tips for quick fixes, helping you maintain your boat’s integrity and aesthetic.
Understanding Fiberglass and Its Importance
What is Fiberglass?
Fiberglass is a composite material made from fine glass fibers and resin. Its lightweight and durable properties make it a popular choice in boat construction. Known for its resistance to corrosion and water damage, fiberglass is integral in ensuring your boat’s longevity.
Why Repair Fiberglass?
Neglecting fiberglass damage can lead to more significant issues, such as water intrusion, structural weakness, and potential safety hazards. Timely fiberglass repair not only restores your boat’s appearance but also maintains its performance and value.
Common Types of Fiberglass Damage
Cracks and Gashes
Small cracks can often go unnoticed but, if left unfixed, they can expand. Gashes, usually caused by collisions or debris, require immediate attention. Identifying the type of damage is essential for executing the appropriate boat fiberglass repair.
Delamination
This condition occurs when the layers of fiberglass begin to separate. Delamination often results from prolonged water exposure or incorrect application during manufacturing. Addressing this issue promptly is crucial to prevent further structural damage.
Gelcoat Damage
The gelcoat provides a protective layer and enhances the boat’s aesthetic. Scratches and fading can occur due to UV exposure and physical contact. While not always structural, repairing gelcoat damage is vital for maintaining your boat’s appearance.
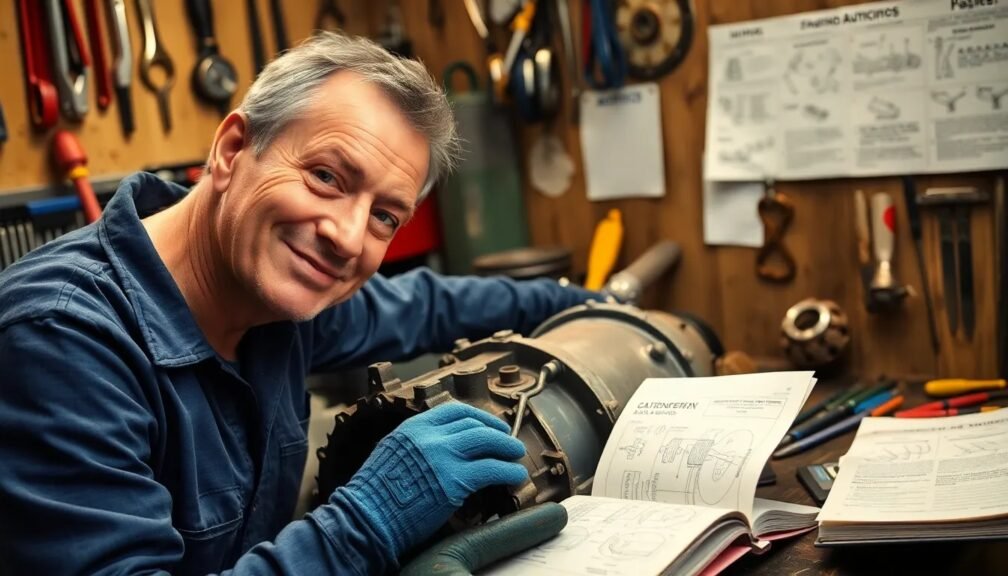
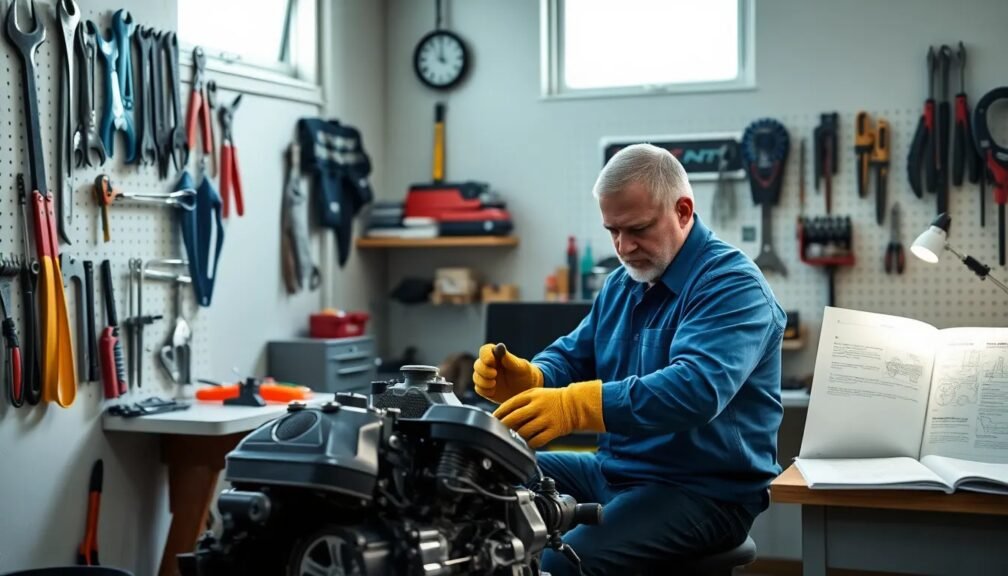
Essential Tools for Boat Fiberglass Repair
Safety Gear
Before starting any boat fiberglass repair, prioritize safety. Equip yourself with gloves, goggles, and a dust mask to protect against fumes and particles.
Basic Tools
- Sandpaper: Various grits will help you prepare the damaged area.
- Fiberglass Repair Kit: These kits often contain resin, hardener, and fiberglass cloth.
- Putty Knife: A versatile tool for applying and smoothing materials.
- Brushes and Rollers: For applying gelcoat or sealants evenly.
- Acetone: This solvent is perfect for cleaning the surface prior to repairs.
Step-by-Step Guide to Boat Fiberglass Repair
Assess the Damage
Before diving into repairs, assess the damage thoroughly. Determine its size, depth, and location. It may help to document the damage with photographs.
Prepare the Area
Use sandpaper to clean the damaged area, removing dirt, grime, and old gelcoat. This step ensures a solid bond between the fiberglass repair materials and the boat.
Mix the Resin
Follow the instructions provided in your fiberglass repair kit. Generally, you’ll mix resin with a hardener. Aim for a bubble-free, consistent mixture for optimal results.
Apply the Fiberglass Cloth
Cut a piece of fiberglass cloth, making sure it overlaps the damaged area. Use the putty knife to apply the resin mixture to the cloth. Press firmly to eliminate any air bubbles, ensuring a strong bond.
Build Up Layers
If the damage is significant, you may need to build up multiple layers. Allow each layer to cure according to the manufacturer’s instructions before adding the next. This layering is crucial for strength and durability.
Sand and Finish
Once fully cured, sand the area with fine-grit sandpaper to create a smooth, even surface. If you’re dealing with gelcoat damage, mix the gelcoat according to instructions and apply it to the repaired area.
Final Inspection
Once dried, conduct a thorough inspection. If everything looks solid, buff the area to blend it seamlessly with the surrounding boat surface.
Preventative Measures
Regular Maintenance
To avoid future fiberglass repairs, commit to regular inspections of your boat. Look for signs of damage, such as cracks, discoloration, or bubbling. Early detection can save you money and reduce repair time.
Proper Storage
When not in use, store your boat properly. Cover it to protect from UV rays and ensure it’s clean and dry to prevent moisture buildup.
Use Quality Products
Invest in high-quality fiberglass repair products. Cheaper options may save you money initially but often lead to more significant issues down the line.
Common Mistakes to Avoid
- Rushing the Process: Take your time on repairs; rushing can lead to poor results.
- Ignoring Drying Times: Follow the manufacturer’s recommendations on drying and curing times to ensure a strong bond.
- Forgetting to Wear Safety Gear: Always protect yourself while working with fiberglass and resins.
Conclusion: Mastering Boat Fiberglass Repair
Mastering boat fiberglass repair is essential for any boat owner. Whether you face tiny cracks or significant structural issues, knowing how to address these problems can prolong your boat’s life and performance.
Remember, a little maintenance can go a long way. Regularly check for damage, use quality materials, and take your time with repairs. Implementing these tips will set you on the right course, keeping your vessel in top trim for all your adventures ahead.
With these essential insights, you’re now equipped to handle boat fiberglass repair with confidence. Whether you’re fixing minor blemishes or significant damages, staying informed will ensure your boat remains a source of joy, rather than a headache. Happy boating!