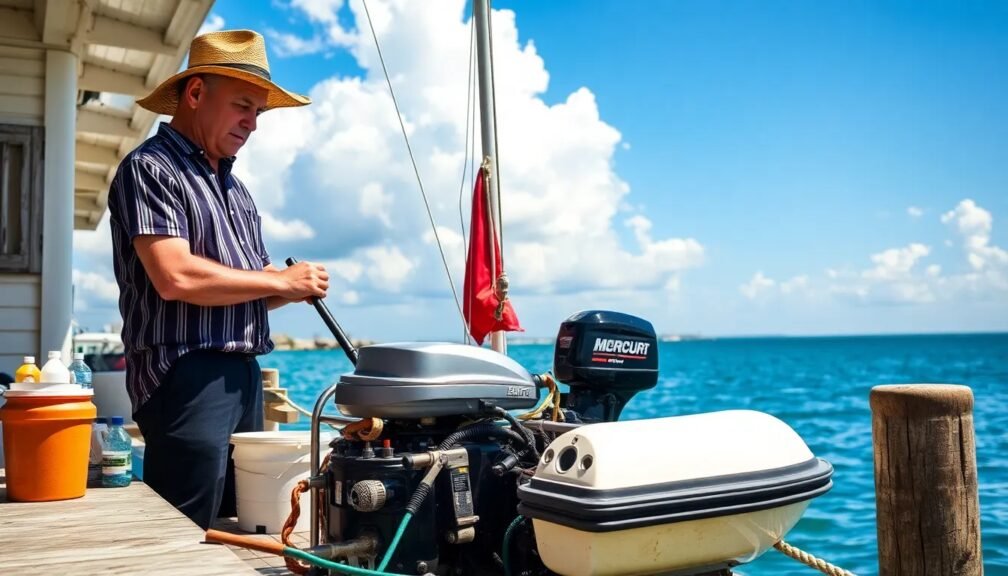
When it comes to maintaining your vessel, few projects are as crucial or rewarding as a boat floor replacement. Whether you’ve noticed some rotting wood, faded fiberglass, or simply want to give your boat a fresh new look, replacing the floor of your boat can enhance both its functionality and aesthetics. This DIY project doesn’t just boost your boat’s lifespan but also increases its resale value. In this comprehensive guide, we’ll explore essential tips for a successful boat floor replacement, making it easier and more enjoyable for you to tackle this project.
Understanding the Need for Boat Floor Replacement
Signs It’s Time for Replacement
Before diving into the replacement process, it’s essential to recognize the signs that indicate your boat floor needs attention. Look out for:
- Soft Spots and Sponginess: If you feel a soft or spongy area underfoot, it’s a sure sign of deterioration.
- Visible Rot: Any visible mold, mildew, or rot on the surface or beneath the floor should not be ignored.
- Cracks or Splits: Fiberglass floors may develop cracks, which can lead to water leakage.
- Unpleasant Odors: A musty smell can indicate underlying mold or damage.
Understanding these warning signs can save you a significant amount of time and money by addressing issues before they worsen.
Planning Your Boat Floor Replacement
Evaluate Your Options
Materials to Consider
When thinking about boat floor replacement, the material you choose plays a vital role in durability and maintenance. Here are some popular options:
- Plywood: An economical choice, but make sure to seal it properly to prevent water damage.
- Fiberglass: This is a more durable and waterproof option but can be pricier and requires careful installation.
- Marine Carpet: Great for aesthetics but may require frequent replacement due to wear and tear.
- Vinyl Flooring: Easy to clean and maintain, vinyl can provide a stylish touch while being water-resistant.
Measuring and Budgeting
Accurate measurements of your boat’s floor area are crucial for a successful replacement. Create a budget that factors in materials, tools, and any potential labor if you decide to hire help for specific parts of the project.
Preparing for Boat Floor Replacement
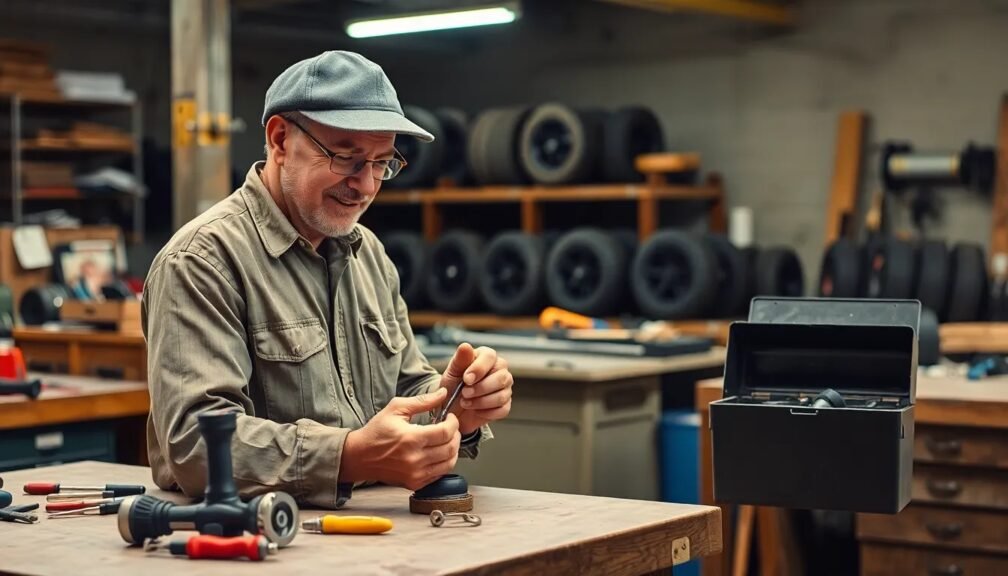
Gather Your Tools
Before starting your boat floor replacement, ensure you have all the necessary tools:
- Measuring Tape: For accurate measurements.
- Circular Saw: To cut through wood or fiberglass.
- Jigsaw: Great for intricate shapes.
- Screwdriver or Drill: For removing old flooring.
- Epoxy Resin or Marine Adhesive: Essential for securing new flooring.
- Safety Gear: Gloves, goggles, and a mask to protect you during the project.
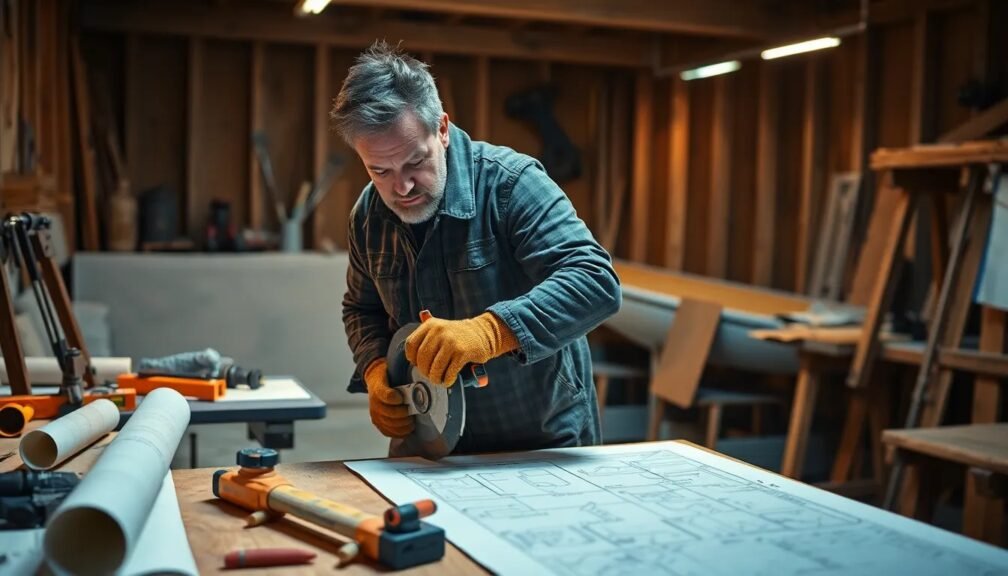
Create a Workspace
An organized workspace is essential for a smooth boat floor replacement. Ensure you have enough lighting and ventilation, especially when working with adhesives and paints. If possible, work on your boat in a dry, sheltered area to avoid weather-related complications.
Steps for Boat Floor Replacement
Step 1: Remove the Old Flooring
Removing old flooring can be labor-intensive, but this step is crucial for a successful boat floor replacement. Begin by:
- Clearing the Area: Remove any furniture, equipment, or fixtures obstructing your workspace.
- Unscrewing and Cutting: Use your tools to unscrew or cut the old flooring carefully, ensuring no underlying structures are damaged.
- Cleaning the Surface: After removal, clean any remaining adhesives or debris to ensure a smooth surface for the new flooring.
Step 2: Prepare the Underlayment
Once the old flooring is out, it’s time to inspect the underlayment. Look for signs of damage or rot. If necessary:
- Replace or Repair: You may need to replace exposed wood or repair any significant damage with epoxy.
- Seal the Underlayment: Applying a sealant can protect against future water damage.
Step 3: Measure and Cut the New Flooring
Using your measurements, mark the new flooring material correctly and cut it to size. Precision is vital in ensuring that the new flooring fits snugly.
Step 4: Install the New Flooring
Now it’s time for the fun part: installation! Follow these steps:
- Apply Adhesive: If you’re using a glued material, apply a generous layer of marine adhesive to the underlayment.
- Lay the Material: Carefully place the new flooring onto the adhesive, ensuring it’s aligned correctly.
- Secure with Fasteners: Depending on the material, you might need to use screws or clips to secure the flooring in place.
Step 5: Finishing Touches
After installing the new flooring, don’t forget to:
- Seal the Edges: Use a sealant around the edges to prevent water intrusion.
- Clean Up: Remove any excess adhesive and ensure the workspace is tidy before you start using your boat again.
Maintenance After Boat Floor Replacement
Regular Inspections
Once your boat floor replacement is complete, regular inspections are essential. Check for:
- Water Damage: Look for leaks, especially after heavy rains or boat outings.
- Wear and Tear: Monitor for any signs of wear that may require additional maintenance.
Cleaning and Upkeep
Keep your new flooring in top condition by following these simple maintenance tips:
- Regular Cleaning: Sweep and mop the floors to prevent dirt and grime buildup.
- Prompt Repair: Address any damage immediately to prevent larger issues down the line.
Conclusion
A successful boat floor replacement can seem daunting, but with the right preparation and tools, it can also be a fulfilling DIY project. Remember to assess your boat’s current condition, choose the right materials, and follow a detailed step-by-step process. Regular maintenance will ensure that your new floor lasts for years to come.
Taking on a boat floor replacement is not just about aesthetics; it’s an investment in the longevity of your vessel. With the right approach, you’re not just restoring your boat—you’re enhancing your whole boating experience. So grab your tools, roll up your sleeves, and embark on your boat floor replacement journey with confidence!