When it comes to enjoying a day on the water, there’s nothing quite like the thrill of cruising on your boat. However, one of the most frustrating experiences can be dealing with ignition problems. If you find yourself facing a moment when your boat won’t start, a boat ignition repair can seem daunting. Fortunately, with a bit of knowledge and some DIY spirit, you can potentially fix the issue yourself. In this article, we’ll explore essential tips for diagnosing and repairing common ignition problems, ensuring you get back on the water in no time.
Understanding Boat Ignition Systems
Before diving into repairs, it’s important to understand the basic components of your boat’s ignition system. Most marine engines have similar structures, which typically include:
- Ignition Switch: Powers up the electronic components.
- Battery: Supplies electrical energy.
- Ignition Coil: Converts battery voltage to a higher voltage.
- Spark Plugs: Ignite the air/fuel mixture in the engine.
- Wiring Harness: Connects everything together.
Knowing these parts can help simplify the boat ignition repair process.
Common Boat Ignition Problems
Knowing what to look for can save you time and frustration. Here are some common ignition problems that boat owners may face:
- Dead Battery: One of the most frequent culprits behind ignition failures.
- Faulty Ignition Switch: If the switch doesn’t engage properly, the engine won’t start.
- Bad Spark Plugs: Worn or fouled plugs can prevent the engine from firing.
- Wiring Issues: Corrosion or damage to wires can disrupt electrical flow.
- Ignition Coil Failure: If the ignition coil is faulty, it won’t produce the needed voltage for a spark.
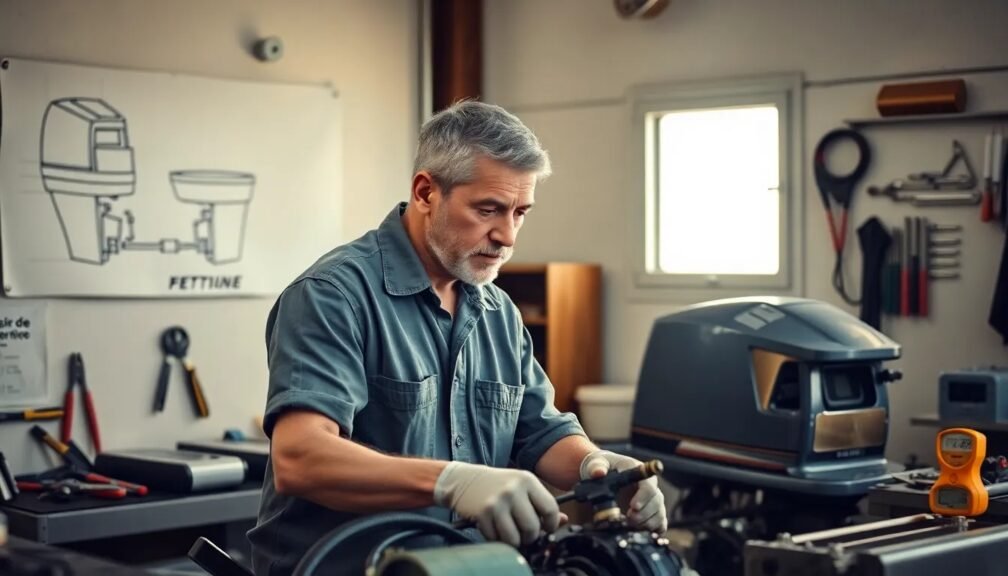
Step-by-Step Guide to DIY Boat Ignition Repair
Step 1: Safety First
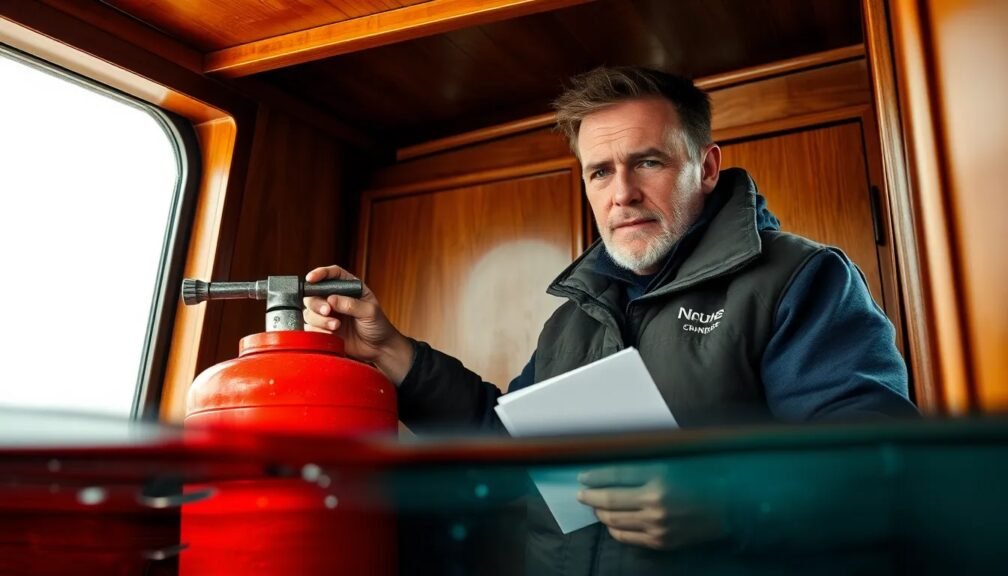
Before starting any repairs, ensure you are taking the necessary safety precautions. Always disconnect the battery while working on your ignition system to prevent electric shock. Additionally, it’s advisable to wear gloves and safety glasses.
Step 2: Inspect the Battery
A dead battery is often the first thing to check. Here’s how to examine it:
- Visual Inspection: Look for signs of corrosion on the terminals. Clean any buildup with a mixture of baking soda and water.
- Battery Voltage Test: Use a multimeter to check if the battery voltage is above 12.6 volts. If not, charge or replace the battery as needed.
- Connections: Ensure that all connections are tight and secure. Loose connections can cause ignition issues.
Step 3: Test the Ignition Switch
Next, examine the ignition switch. A faulty switch can often be the root of ignition troubles.
- Turning the Key: Turn the key and listen for unusual clicks. If there is no sound, the switch may be defective.
- Electrical Test: Use a multimeter to test for continuity. If there’s a break in continuity, the ignition switch may need to be replaced.
Step 4: Check Spark Plugs
Spark plugs play a crucial role in starting your engine. Follow these steps:
- Remove and Inspect: Take out the spark plugs and inspect them for wear and fouling. They should be clean and in good condition.
- Gap Measurement: Use a feeler gauge to check the gap between the electrodes. If it’s wider than what’s recommended by the manufacturer, replace the spark plug.
- Testing: If you have a spark plug tester, use it to check whether the plugs are firing correctly.
Step 5: Inspect Wiring and Connections
A common issue in ignition failures is damaged wiring. Here’s what you should do:
- Visual Inspection: Look for frayed wires, corrosion, or loose connections in the wiring harness.
- Continuity Test: Use a multimeter to ensure there is continuity between the ignition switch and the ignition coil, as well as from the coil to the spark plugs.
- Repair or Replace: If you find any broken or corroded wires, repair or replace them as necessary.
Step 6: Evaluate the Ignition Coil
If the problem persists, the ignition coil could be at fault.
- Check for Damage: Inspect the coil for cracks or signs of overheating.
- Resistance Test: Use a multimeter to check the resistance of the coil—it should fall within the manufacturer’s specifications.
- Replacement: If the coil is faulty, it will need to be replaced to restore functionality.
When to Consult a Professional
While many ignition problems can be handled with DIY fixes, certain complexities may require professional assistance. Consider consulting a marine mechanic if:
- You lack the knowledge or tools for advanced diagnostics.
- The issue persists even after following these troubleshooting steps.
- You’re uncomfortable handling electrical components.
Preventative Measures for Your Boat Ignition
To ensure your ignition system remains functional and reliable throughout your boating season, here are some proactive measures:
- Regular Maintenance: Periodically check and replace worn spark plugs, clean battery terminals, and inspect wiring.
- Winterization: Properly winterize your boat to prevent damage during colder months.
- Check Connection Points: Regularly examine electrical connections to prevent rust and corrosion build-up.
- Keep Batteries Charged: Always ensure your battery is charged before taking your boat out.
Final Thoughts
A functional ignition system is essential for a successful day on the water. By using this guide to diagnose and repair common ignition issues, you can save time, money, and the frustration of dealing with an unresponsive engine.
Remember, while many boat ignition repairs can be handled through DIY methods, it’s important to recognize when to seek professional help. By staying proactive in your maintenance practices, you can prevent ignition problems before they occur, thus enjoying countless memorable moments on your boat.
Arming yourself with knowledge about boat ignition repair is not just empowering; it enhances your boating experience overall, keeping you and your loved ones safe on the open water. Happy boating!