Repainting your boat isn’t just about aesthetics; it’s an essential maintenance practice that protects your investment and enhances performance. If you’re aiming for a flawless finish, there are several key strategies to consider before you pick up your paintbrush. In this comprehensive guide, we’ll cover everything you need to know about boat repainting, from the materials you should use to the techniques that will yield the best results.
Why Boat Repainting Matters
Maintaining the exterior of your boat is not just a cosmetic issue. The right paint job can protect the underlying materials from the harsh marine environment—UV rays, saltwater, and algae, to name a few. A well-executed boat repainting project can improve visibility, enhance hull performance, and even boost resale value.
Benefits of Regular Repainting
- Protection: Quality marine paint acts as a barrier against corrosion and wear.
- Impression: A shiny, new finish makes a great first impression on fellow boaters.
- Performance: A smooth hull can enhance speed and fuel efficiency.
- Resale Value: A well-maintained boat can fetch a higher price in the market.
Preparing for Boat Repainting
Preparation is crucial when it comes to boat repainting. Skipping steps can lead to unsatisfactory results and wasted resources. Here’s a checklist of what you should consider:
1. Choose the Right Location
The environment in which you repaint matters. Ideally, find a well-ventilated area shielded from dust and debris. Consider using a temporary tarp or a shed to protect your work area.
2. Gather Essential Tools and Materials
Before you start, make sure you have the following tools and materials on hand:
- Marine-grade paint
- Primer suitable for the material of your boat
- Sandpaper (various grits)
- Paintbrushes and rollers
- Spray equipment (if necessary)
- Masking tape
- rags and cleaning solutions
- Safety gear (gloves, goggles, and mask)
3. Assess and Repair Damage
Inspect your boat meticulously for any existing damage. Look for cracks, scratches, or areas where the old paint is peeling. Make repairs as needed; this step is essential for achieving a flawless finish. Use fillers for holes and sand down surfaces to ensure evenness.
Steps of the Boat Repainting Process
Once you have everything ready, you can proceed with the actual boat repainting process.
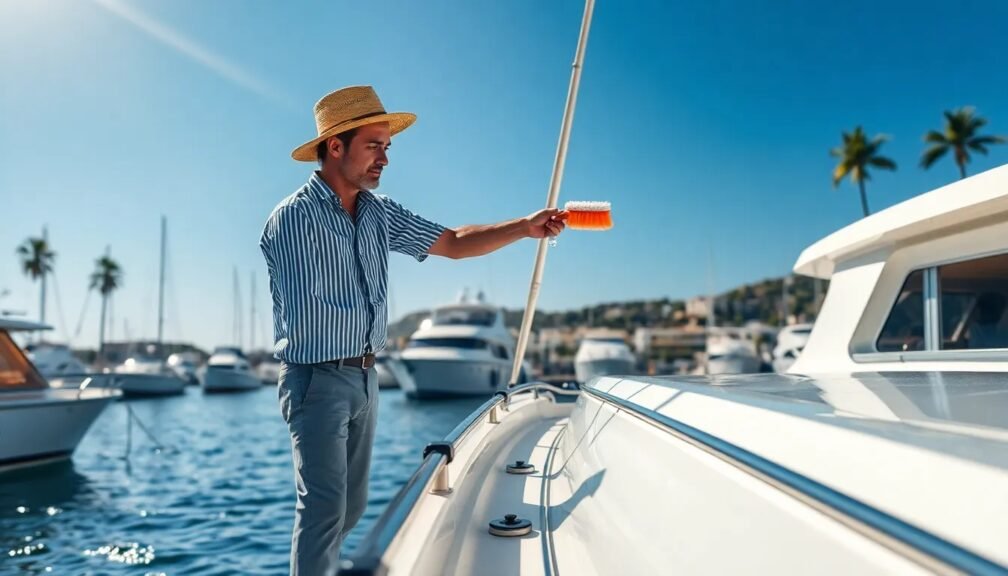
Step 1: Clean the Surface
Start by cleaning the boat thoroughly to remove salt, grime, and any old chemicals. A good cleaning solution specifically designed for marine vehicles works best. Rinse with fresh water and allow it to dry completely.
Step 2: Sand the Old Finish
For the best adhesion, you’ll need to sand the surface of your boat. Start with coarser sandpaper (around 80 grit) to remove the old paint, then transition to finer grades (between 320-400 grit) for smoothing. Ensure that you sand in a circular motion to cover larger areas evenly.
Step 3: Apply Primer
After sanding, it’s time to apply a quality marine primer. This step is crucial for boats made of wood or metal, as the primer will provide a solid base for the paint. Use a spray gun for an even coat and allow it to cure according to the manufacturer’s guidelines.
Step 4: Choose the Right Paint
When it comes to marine paint, quality matters. Opt for top-tier marine-grade paints, known for their UV resistance and durability. You’ll find options in various finishes, including gloss, semi-gloss, and matte. Consider your boat’s purpose and environment when selecting your color and type.
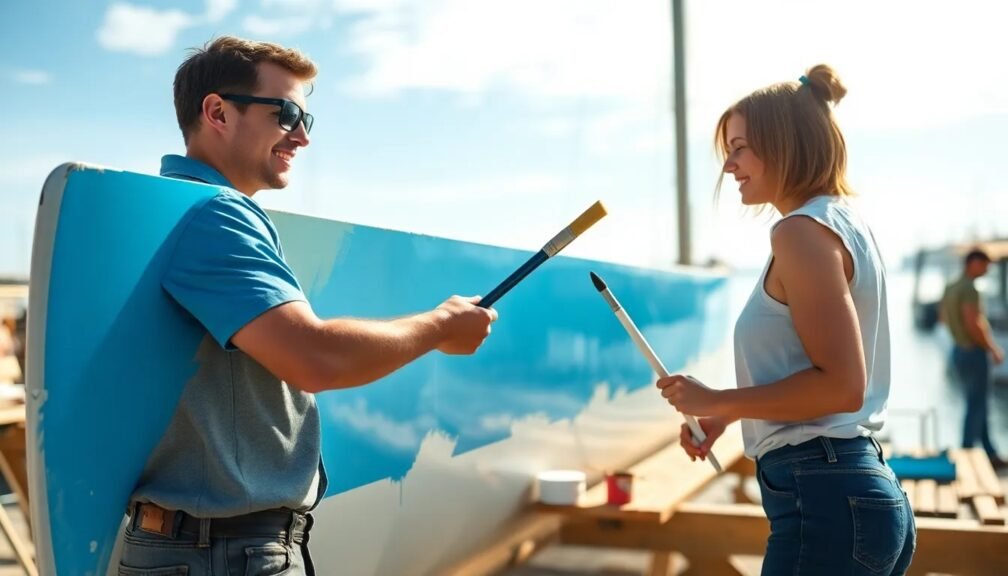
Step 5: Painting Techniques
Once the primer is dry, it’s time to paint. Use light, even strokes with your brush or roller, and maintain a wet edge to avoid lap marks. If you’re using a spray gun, practice on scrap materials first to ensure a smooth application.
Step 6: Multiple Coats
For a flawless finish, multiple coats of paint are essential. Depending on the paint’s specifications, you may need to apply two to three coats. Allow adequate drying time between each coat as recommended by the manufacturer.
Step 7: Final Touches
After your final coat has dried, inspect your work. Touch up any spots needing extra attention. Remove masking tape carefully to avoid peeling any paint. Consider applying a marine clear coat for an extra layer of protection and shine.
Maintenance After Repainting
Once you’ve completed your boat repainting project, ongoing maintenance is key to preserving that flawless finish.
1. Regular Cleaning
Clean your boat regularly using appropriate marine soap and solutions. Avoid harsh chemicals that could damage the paint.
2. Inspect Periodically
Check the paint for any signs of wear or damage. Early detection of issues will make repairs easier and less costly.
3. Waxing
Applying a quality marine wax can provide an additional protective layer and enhance the shine of your boat’s surface. Aim for waxing at least twice a year.
Conclusion: Take Action for a Flawless Finish
Boat repainting is a rewarding project that, when done correctly, can breathe new life into your vessel and extend its lifespan. By preparing adequately, using high-quality materials, and following the necessary steps, you can achieve a flawless finish that stands up to the rigors of open water.
Remember, meticulous attention to detail during the preparation and application process is crucial. Don’t hesitate to invest time and effort; your boat will thank you for it! Start your boat repainting project today and enjoy the numerous benefits of a fresh, vibrant look and enhanced performance on the water.