When you own a boat, the thrill of setting sail on a sun-drenched day beats all. However, with that joy comes the responsibility of maintenance, and sooner or later, you’ll face a boat repair project. Knowing how to perform essential repairs yourself not only saves you money but also adds to the pride of ownership. In this detailed guide, we’ll cover crucial tips for DIY enthusiasts looking to tackle boat repair projects with confidence.
Understanding Your Boat
Familiarize Yourself with Your Craft
Before diving into any boat repair, it’s vital to understand the type of boat you own. Whether it’s a sailboat, powerboat, or even a jet ski, each has unique components and systems that require specialized knowledge. Spend some time reading the owner’s manual, which can provide valuable insights about your boat’s specific requirements.
Common Areas Needing Repair
There are several typical problem areas that many boat owners may encounter:
- Hull Damage: Scratches, cracks, or chips can significantly affect your boat’s performance.
- Electrical Issues: Wiring problems or faulty lights can lead to frustrating and potentially dangerous situations.
- Engine Repairs: From routine maintenance to complex repairs, understanding your engine’s configuration is crucial.
- Teak Decking Maintenance: Wooden parts like decks or trim can become damaged or rot if not properly cared for.
By pinpointing common issues, you can prepare to address boat repair tasks more efficiently.
Essential Tools for Boat Repair
Invest in Quality Equipment
Tools can make or break your DIY experience. Here is a list of essential tools needed for most boat repairs:
- Screwdrivers and Wrenches: A comprehensive set of each is necessary for tightening or loosening various fastenings.
- Pliers: Useful for gripping, twisting, or cutting wiring.
- Multimeter: A must-have for diagnosing electrical issues.
- Fiberglass Repair Kit: Essential for addressing hull damage effectively.
- Sealants and Adhesives: High-strength marine epoxy and sealants will be your best friends when it comes to waterproofing.
Investing in quality tools may cost a little more upfront, but they will pay off in terms of durability and effectiveness in your boat repair efforts.
Safety First
Follow Safety Protocols
Boat repair should always start with safety. Here are some key practices to keep you protected:
- Wear Appropriate Gear: Consider gloves, safety glasses, and sturdy footwear to protect yourself during repairs.
- Work in a Well-Ventilated Space: If you’re working on your boat indoors, proper ventilation is crucial, particularly when using solvents or adhesives.
- Know Your Limits: While DIY projects are rewarding, don’t hesitate to call in a professional if a job exceeds your skill level.
Step-By-Step Boat Repair Projects
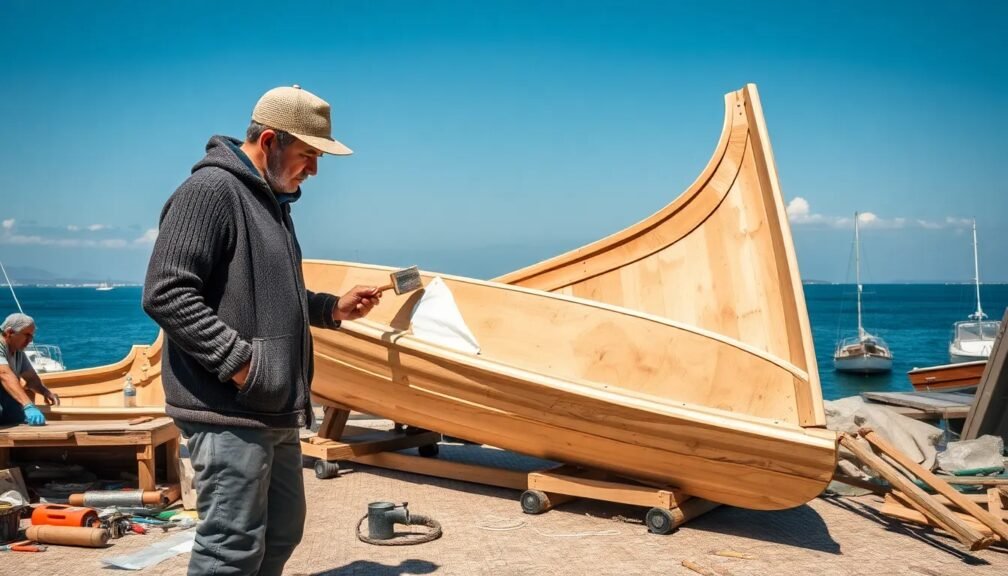
1. Hull Repair
Identify the Damage
First, inspect the hull carefully. Look for any cracks, chips, or soft spots. Mark the areas that need attention.
Prepare the Surface
Clean the damaged area thoroughly and dry it completely. Sand down the area around the damage to create a rough surface for better adhesion.
Apply Repair Material
Using epoxy or fiberglass resin, fill in cracks and holes. Be sure to follow product instructions precisely.
Finish Up
After the adhesive or epoxy cures, sand the area down to make it flush with the rest of the hull. Finally, paint or gel-coat the area to match the boat’s finish.
2. Electrical System Repairs
Check for Blown Fuses
Begin by inspecting the fuse box to identify any blown fuses. Replace them as necessary.
Use a Multimeter
For more complicated issues, a multimeter can help test voltage levels in various components. Ensure your battery is fully charged before conducting tests.
Wiring Issues
If you find loose or frayed wires, take the time to repair these. Use marine-grade wiring and connectors to ensure durability against the marine environment.
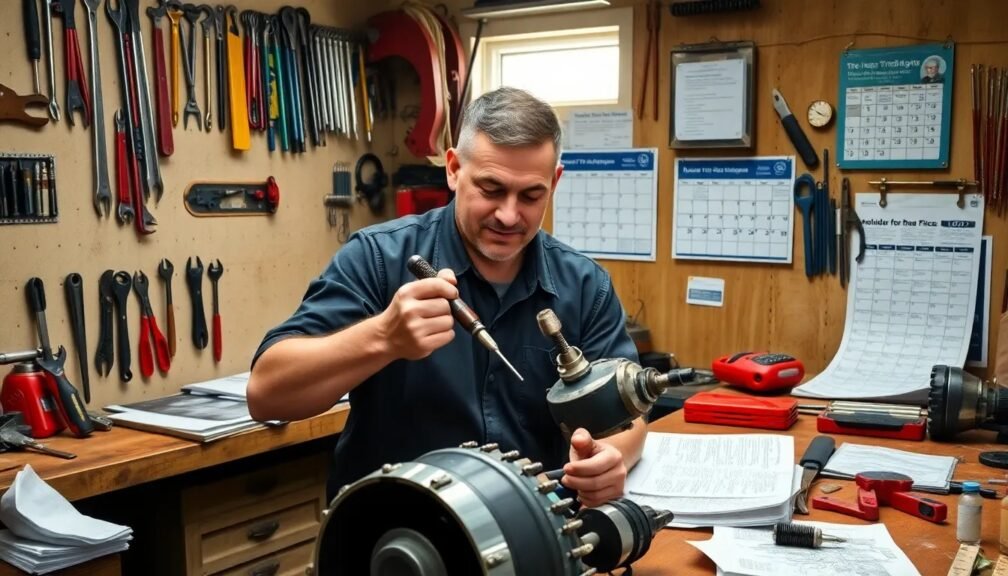
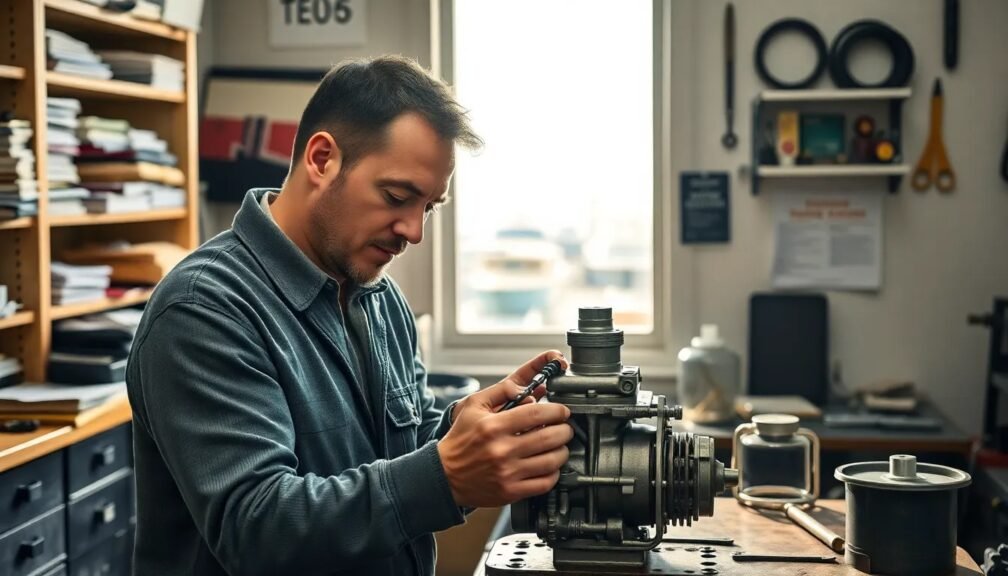
3. Engine Maintenance
Regular Oil Changes
One of the simplest ways to prolong your engine’s life is through regular oil changes. Always use oil that meets the manufacturer’s specifications.
Check the Cooling System
Make sure the cooling system, including hoses and belts, is functioning properly. Replace worn parts promptly to avoid overheating.
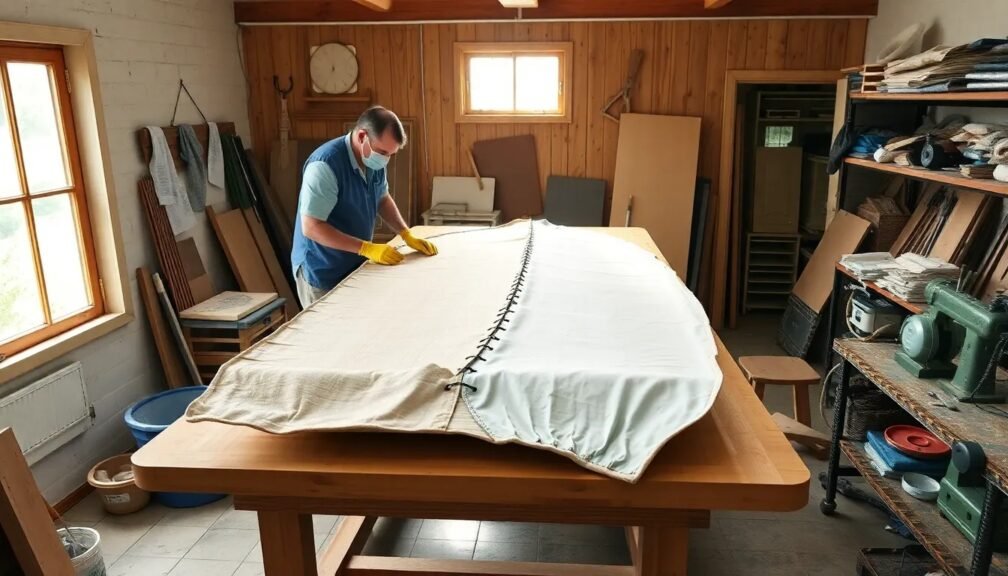
4. Teak Deck Care
Cleaning
Always hand-clean teak decks with mild soap and a soft brush. Avoid harsh chemicals that can damage the wood.
Sealant Application
After cleaning, apply a high-quality marine sealant to protect from UV damage and moisture intrusion. Regular maintenance will keep your decking looking elegant and extend its lifespan.
Troubleshooting Common Issues
Engine Won’t Start
If your boat engine won’t start, check the battery charge and fuel level. Verify that the wiring connections are secure. In some cases, the issue may be as simple as a blown fuse.
Electrical Problems
Flickering lights may indicate a loose connection in the wiring. Make sure all terminals are clean and secure. Refer to your owner’s manual for a wiring diagram if necessary.
Hull Leaks
If your hull is leaking, it may be due to a failed sealant. Reseal any seams or connections that show signs of wear.
Conclusion
Taking on boat repair as a DIY enthusiast can be both satisfying and economical. By understanding your boat, equipping yourself with the right tools, and prioritizing safety, you can tackle repairs effectively.
Actionable Insights
- Educate Yourself: Invest time in reading manuals and watching tutorials related to your specific boat model.
- Make a Repair Checklist: List routine maintenance tasks and common repairs to establish a proactive approach.
- Join a Community: Engage in forums or local boating clubs to lean on fellow boat owners for tips and support.
Whether it’s a minor repair or a significant overhaul, the skills you develop through boat repair can enhance your boating experience. So roll up your sleeves, grab your tools, and set sail into the world of DIY boat repairs!