Your outdoor deck is not just an extension of your home; it’s a sanctuary for summer barbecues, quiet evenings under the stars, and everything in between. However, over time, exposure to weather elements, wear and tear, and lack of maintenance can lead to deck damage. This article will provide essential tips for DIY success in deck repair, ensuring your outdoor space remains beautiful and functional for years to come.
Understanding Deck Damage
Before embarking on any DIY deck repair project, it’s vital to identify the type and extent of the damage. Common issues include:
- Rotting Boards: Often caused by moisture, rotting boards can compromise the integrity of your deck.
- Loose Railings: Over time, screws and nails can become loose.
- Worn Staining or Sealing: Fading finishes expose wood to damaging moisture.
- Warped or Cracked Wood: Natural aging can lead to warping or cracking.
Assessing the Damage
Once you’re aware of the previous points, inspecting your deck regularly is essential. Here’s how to assess your deck effectively:
- Visual Inspection: Look for signs of wear and tear. Check the entire surface, railings, and posts.
- Tap Test: Use a hammer to tap on the deck boards. A solid sound indicates good wood, while a dull sound suggests rot.
- Check Fasteners: Look for any rusted, loose, or missing screws and nails.
Tools and Materials You’ll Need
Successful deck repair hinges on having the right tools and materials at your disposal. Here’s what you’ll need:
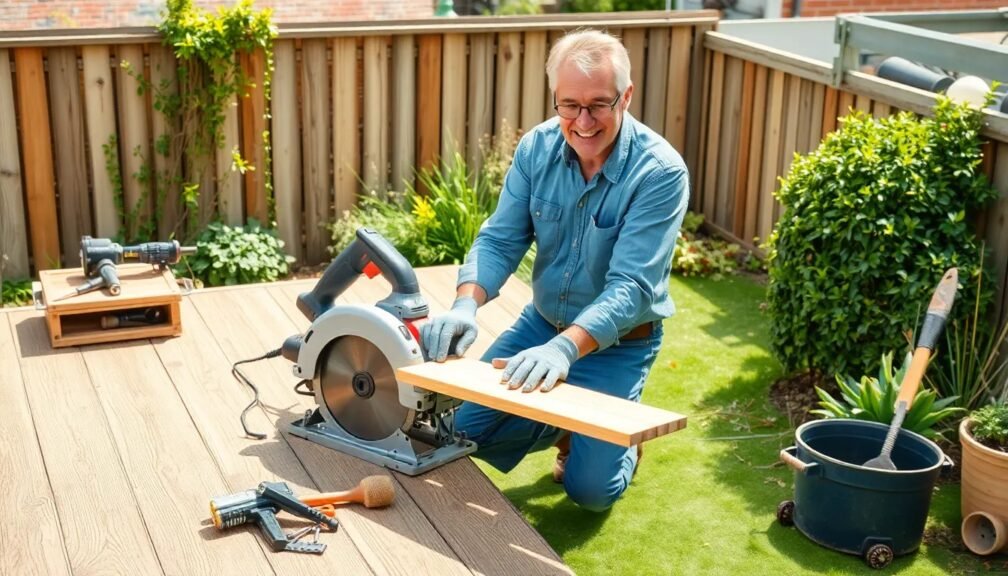
- Tools: Hammer, screwdrivers, pry bar, saw (preferably a circular saw), level, measuring tape, and safety gear (gloves, goggles).
- Materials: Replacement boards (pressure-treated lumber, composite), screws/nails, wood preservative, deck stain/sealer, sandpaper, and wood filler.
Step-by-Step Deck Repair Guide
Step 1: Remove Damaged Boards
Once you’ve identified damaged areas, it’s time to remove them. Here’s how:
- Use the Pry Bar: To remove rotting boards carefully, insert the pry bar under the board and gently lift it.
- Remove Fasteners: Unscrew nails or screws to detach the damaged pieces completely.
Step 2: Install Replacement Boards
Once the damaged boards are removed, it’s time to install new ones:
- Cut the New Board: Measure and cut the new board to match the length of the old one.
- Secure the Boards: Using screws, fasten the new board to the joists below. Make sure they are level with existing boards.
Step 3: Address Loose Railings
Loose railings can pose a safety hazard. Follow these steps:
- Tighten Screws or Nails: Using a screwdriver or drill, tighten any loose screws in the railing.
- Add Support: If a railing is wobbly, consider adding additional support posts or brackets for added stability.
Step 4: Repairing Cracks and Splits
Cracks and splits can not only look unsightly but can also lead to further damage. Here’s how to fix them:
- Clean the Area: Clear any debris from the crack.
- Use Wood Filler: Apply wood filler, smoothing it with a putty knife. Allow it to dry before sanding it down.
Step 5: Sand and Finish Your Deck
To ensure a smooth surface after repairs:
- Sand Rough Areas: Use sandpaper to smooth out any rough spots.
- Apply Sealant or Stain: Protect your deck by applying a deck stain or sealant. This will add a layer of protection against moisture and UV rays.
Maintenance Tips for a Long-lasting Deck
By following up on your deck repair efforts with regular maintenance, you can prolong the life of your deck. Here are essential maintenance tips:
Clean Regularly
Debris can trap moisture, leading to rotting. Sweep and wash your deck at least twice a year.
Check for Damage Seasonally
Inspect your deck every season for signs of wear and tear. Early detection of minor issues can prevent them from turning into major repair projects.
Keep Wood Protected
Applying a sealant every few years can keep wood protected from moisture and sun damage, significantly extending its lifespan.
Avoid Using Harsh Chemicals
When cleaning your deck, opt for gentle cleaning products. Harsh chemicals can degrade wood and finishes.
Conclusion: Take Action Today!
Deck repair doesn’t have to be a daunting task. With the right assessment, tools, and techniques, you can ensure your deck remains a safe and inviting space. From removing rotting boards to ensuring your railings are sturdy, follow these essential steps to restore your deck effectively.
Remember, performing regular maintenance tasks will save you time and money in the long run. If you notice extensive damage, don’t hesitate to consult a professional. Taking these proactive measures ensures your deck will continue to be the heart of your outdoor gatherings.
Call to Action
Are you ready to tackle your deck repair project? Start by assessing the damage today. Gather your tools and materials, and get to work on creating a safe, beautiful space for your family and friends to enjoy. By following these essential tips, you’ll set yourself up for DIY success!