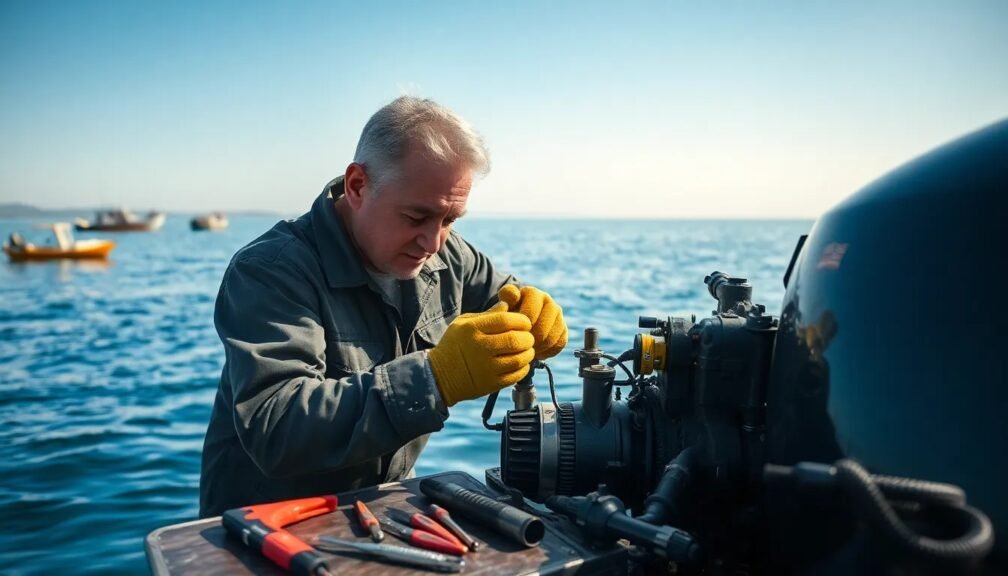
When it comes to maintaining your boat, marine canvas repair should be high on your priority list. The marine environment is harsh, and your boat’s canvas—whether it be covers, biminis, or upholstery—faces constant exposure to elements like sun, salt, and water. This guide will help you navigate the basics of marine canvas repair, giving you the skills to tackle minor repairs on your own and save on costly professional services.
Understanding Marine Canvas: What It Is and Why It Matters
What is Marine Canvas?
Marine canvas refers to a variety of durable fabrics designed specifically for boat applications. Common materials include acrylic, polyester, and vinyl, each selected for its resistance to water, UV rays, and mildew. These materials are commonly used for:
- Biminis and Canopies
- Covers (for boats, motors, and gear)
- Upholstery
Understanding the specific type of marine canvas on your boat is crucial for effective repair and maintenance.
The Importance of Marine Canvas
Marine canvas is vital for protecting your boat and enhancing its lifespan. Damaged canvas can lead to more severe issues, such as water intrusion, mold, and even structural damage to the boat. Regular maintenance and timely marine canvas repairs can save you from expensive replacements and extensive repairs down the line.
Common Problems with Marine Canvas
Tears and Rips
The most common issue with marine canvas is tears or rips, often caused by wear and tear or improper storage.
Discoloration and Fading
Constant exposure to UV rays can lead to fading colors and weakened fabric integrity.
Mildew and Mold Growth
If moisture gets trapped, mildew and mold can develop, leading to unpleasant odors and damage to the material.
Zipper and Seam Failures
Zippers can become stuck or break over time, and seams may unravel due to fatigue or poor initial stitching quality.
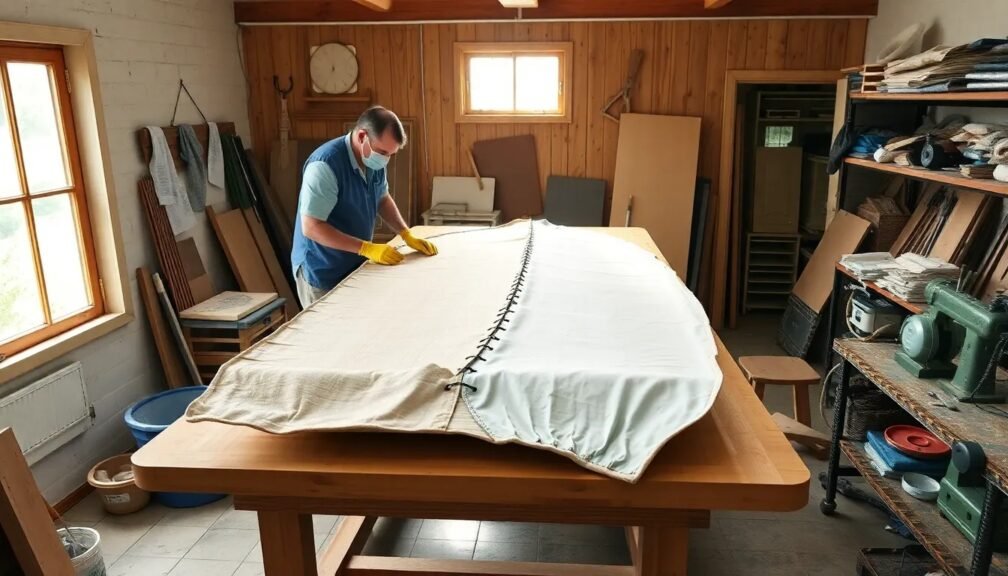
DIY Marine Canvas Repair: Tools and Materials You’ll Need
Going the DIY route for marine canvas repair requires the right tools and materials. Here’s what you’ll need:
Essential Tools
- Sewing Machine: A heavy-duty sewing machine that can handle thick fabric.
- Scissors: A sharp pair for cutting fabric and thread.
- Measuring Tape: To ensure accurate measurements.
Materials
- Marine Canvas Fabric: Match your existing material as closely as possible.
- Thread: Use UV-resistant and heavy-duty thread.
- Canvas Adhesive: Ideal for minor repairs or locations difficult to sew.
- Zippers and Fasteners: Replacement parts as needed.
- Sealant: For waterproofing seams and edges.
Step-by-Step Guide for Marine Canvas Repair
1. Assess the Damage
Before you start, assess the extent of the damage. Is it a simple tear, or has the fabric weakened significantly? This will determine your repair approach.
2. Clean the Area
Always start with a clean workspace. Brush off any dirt, and use mild detergent and water to clean the area surrounding the damage. Rinse thoroughly and allow it to dry completely.
3. Repairing Rips and Tears
-
Simple Rips: For small tears less than 4 inches, you can sew them up. Use a heavy-duty needle and thread, stitching back and forth across the tear for durability.
-
Larger Rips: For larger rips, consider using a patch. Cut a piece of marine canvas larger than the tear, apply a canvas adhesive, and press it securely onto the damaged area. Then, sew around the edges for additional strength.
4. Fixing Zippers
-
Stuck Zippers: For zippers that get stuck, apply a lubricant like beeswax or zipper grease.
-
Broken Zippers: If a zipper teeth are missing or broken beyond repair, consider replacing the entire zipper. Carefully remove the old zipper and sew in the new one in the same manner.
5. Addressing Discoloration
Use a specialized marine fabric cleaner to treat spots and restore the original color. Rinse thoroughly and, if necessary, reapply a fabric protectant to extend the life of your canvas.
6. Preventing Mildew Growth
If mildew is present, mix water with vinegar and scrub the affected area. Allow it to dry completely before storing the material. For prevention, ensure your canvas is dry and well-ventilated during storage.
Best Practices for Marine Canvas Maintenance
Regular Inspections
Conduct regular inspections of your canvas, especially after long trips or harsh weather. Catching issues early can prevent extensive damage.
Proper Storage
When not in use, store your canvas in a dry, ventilated area. Use covers to keep dirt and moisture away.
Use Protective Treatments
Apply UV-resistant sprays to protect against sun damage. Waterproofing treatments can also help extend the lifespan of your fabric.
Keep It Clean
Regularly clean your marine canvas with appropriate products to prevent mildew and discoloration. Avoid harsh chemicals that could damage the fabric.
When to Call in Professionals
While many minor repairs can easily be handled through DIY methods, sometimes it’s more effective to call in the professionals. If you are dealing with:
- Extensive damage that requires complicated repairs
- Structural work that goes beyond basic fabric fixes
- Time constraints or lack of necessary tools
Conclusion: The Benefits of DIY Marine Canvas Repair
Understanding and undertaking marine canvas repair on your own can save you money and give you a sense of accomplishment. Not only does it prolong the life of your boating gear, but it also enhances your skills as a boat owner. With the right tools and techniques at your disposal, you can tackle all kinds of repairs—from minor tears to stubborn zippers.
By maintaining your marine canvas proactively, you ensure many sunny days ahead on the open water. Remember, the ocean is beautiful and exhilarating, but a little preparation can go a long way in protecting your investment. Happy boating!
With this comprehensive guide on marine canvas repair, you are now better equipped to handle the DIY fixes necessary to keep your boat looking new and performing well for years to come.