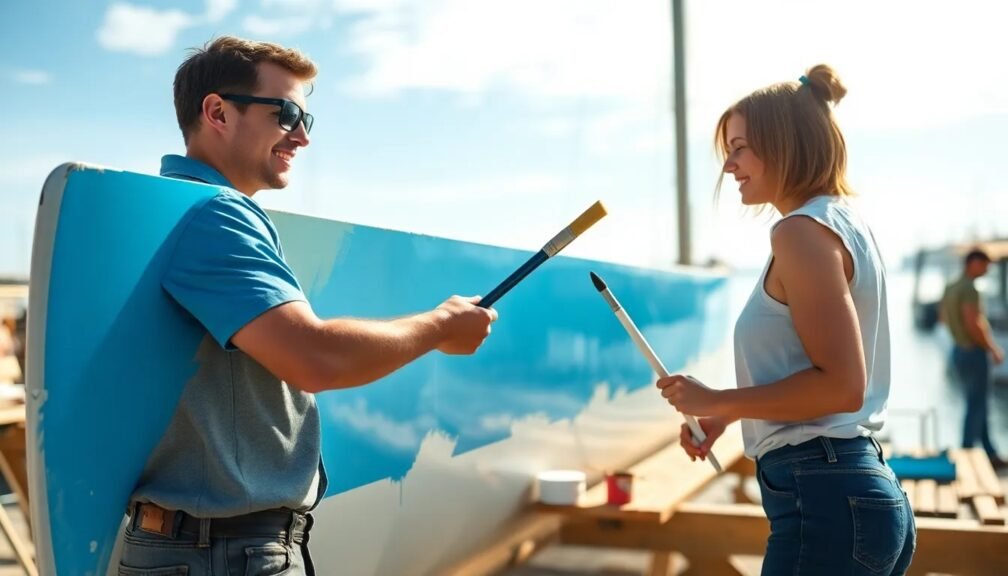
When it comes to maintaining your boat’s aesthetic appeal and longevity, marine polishing is an essential task that every boat owner should prioritize. Not only does it enhance the visual appeal of your vessel, but it also protects it from the harsh marine environment. In this comprehensive guide, we’ll delve into the nuances of marine polishing, the tools and techniques you need, and how to achieve that flawless shine you desire every time.
What is Marine Polishing?
Marine polishing is the process of applying specialized products to the surfaces of your boat to remove oxidation, scratches, and other blemishes. The primary goal is to restore a high-gloss finish while safeguarding the surface from UV damage, salt, and contaminants. Whether you’re prepping your boat for sale or simply want to keep it looking its best for personal enjoyment, understanding marine polishing is key.
Why is Marine Polishing Important?
-
Protection Against Elements: The marine environment can be unforgiving, with saltwater, UV rays, and algae all contributing to surface degradation. Polishing adds a layer of protection.
-
Enhanced Aesthetics: A shiny, well-polished boat turns heads at the marina. Marine polishing will make your boat look new again, enhancing its resale value.
-
Improved Performance: A polished hull can reduce drag in the water, contributing to better fuel efficiency and overall performance.
Essential Tools and Materials for Marine Polishing
Before you embark on your marine polishing journey, it’s crucial to gather the right tools and materials. Here’s a handy checklist:
1. Polish and Compound
Choose a quality marine polish designed specifically for the type of material you’re working with, whether it’s fiberglass, gel coat, or metal. Some popular options include:
- Marine-grade liquid compounds for heavy abrasions
- Polishing pastes for lighter scratches
- Wax and sealants for added protection
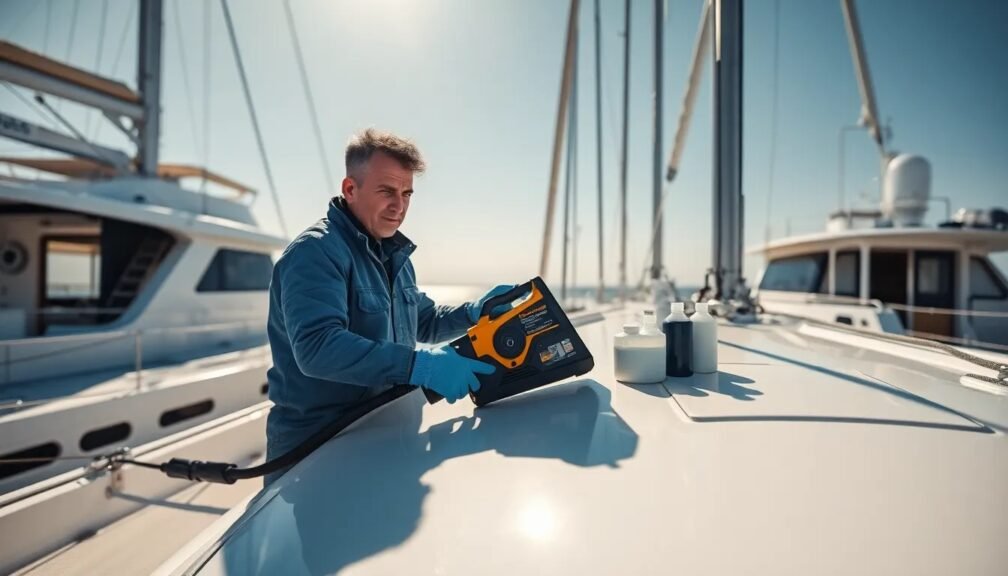
2. Buffing and Polishing Tools
For effective marine polishing, consider investing in the following tools:
- Rotary buffer: Great for heavy-duty polishing.
- Dual-action buffer: Reduces the risk of burning the surface and is perfect for fine polishing.
- Hand applicators: Useful for small areas and touch-ups.
- Microfiber cloths: Ideal for applying and removing compound and polish.
3. Miscellaneous Supplies
- Masking tape: To protect areas not intended for polishing.
- Water: For rinsing and cleaning surfaces.
- Sponge and soft cloths: For surface prep and cleaning.
The Marine Polishing Process: Step-by-Step
Now that you’re equipped with the right tools and materials, let’s dive into the marine polishing process. Following these steps will help you achieve a flawless shine every time.
Step 1: Preparation
Clean the Surface
Start by thoroughly washing your boat with fresh water and a gentle boat soap. Remove any dirt, salt, or algae buildup. Rinse well and dry the surface completely.
Protect Non-Polished Areas
Use masking tape to cover any regions that you don’t want to expose to polish, such as rubber trim, decals, or windows.
Step 2: Assess the Condition
Before applying any polish, inspect the surface to determine the extent of oxidation and imperfections. This will guide your choice of polish or compound.
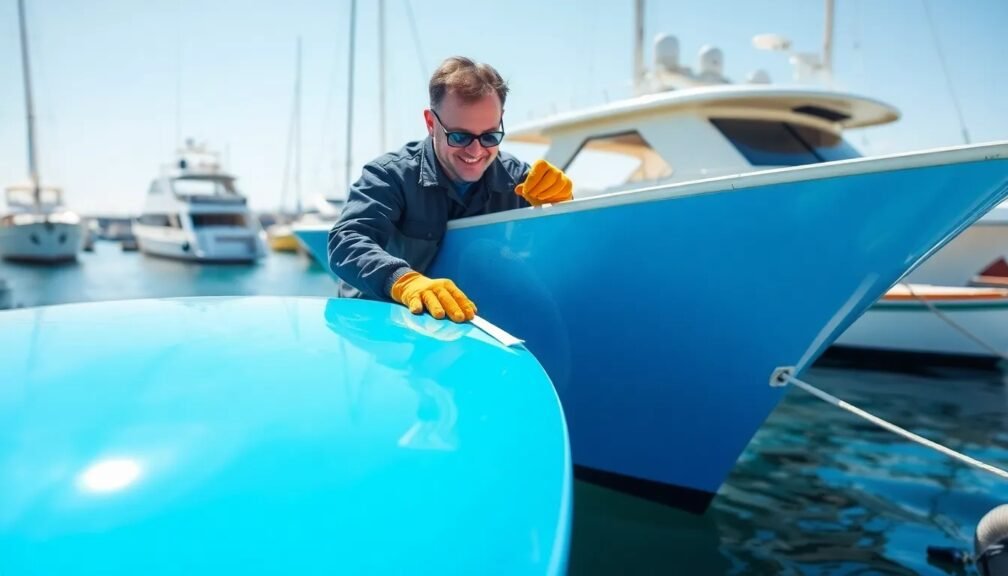
Step 3: Apply Polish
Choose the Right Product
If the surface is heavily oxidized, start with a cutting compound. For lighter scratches, you might opt for a fine polish. Some brands offer all-in-one solutions that can simplify your process.
Work in Sections
Always work in small sections, applying polish with a dual-action buffer or by hand using a foam applicator. Follow the manufacturer’s instructions regarding the amount of product to use for optimal results.
Step 4: Buffing and Polishing
Use a buffer to work the polish in using overlapping circular motions. Be careful not to stay in one spot too long to avoid burning the surface. After you’ve polished an area, switch to a clean microfiber cloth to remove residue.
Step 5: Finishing Touches
Once you’ve completed the polishing process over the entire boat, inspect the surface. If necessary, repeat the process on areas that require additional attention. Finally, seal the polished surface with a coat of marine wax or sealant to enhance protection and depth of shine.
Tips for Successful Marine Polishing
-
Choose the Right Weather: Avoid polishing in direct sunlight or high humidity. Ideal conditions would be a cool, overcast day.
-
Work in Small Sections: This allows for better control and ensures that you don’t miss any spots.
-
Stay Consistent: Regular polishing, perhaps once or twice a season, will maintain your boat’s look and longevity.
-
Safety First: Always wear gloves and protective eyewear when handling polishing compounds and power tools.
Common Mistakes to Avoid
-
Using Incompatible Products: Make sure your polish is suitable for your boat’s material to avoid damage.
-
Over-Polishing: Too much polishing can wear down the gel coat or paint. Stick to manufacturer recommendations.
-
Neglecting Maintenance: Regular upkeep can save you time in the long run. A well-maintained vessel is easier to polish than one left unattended.
Conclusion: Achieving a Flawless Shine
With the comprehensive guidelines provided in this article, you’re well-equipped to tackle marine polishing of your boat like a pro. Remember, regular maintenance paired with proper marine polishing techniques will keep your vessel looking pristine while extending its lifespan.
By investing time in the right tools, techniques, and products, achieving that flawless shine every time is not just possible—it’s within your grasp. Take action today, and let your boat be the showstopper on every voyage.