Transom repair is a vital skill that every DIY enthusiast should master, especially those who are boat lovers or homeowners looking to maintain their crafts or properties. A transom is the horizontal structural beam at the back of a boat or a door frame, and its integrity is crucial for overall safety and performance. Failing to address issues promptly can lead to costly repairs and potential hazards. In this guide, we’ll cover essential tips for transom repair and provide you with the knowledge needed to tackle this project confidently.
Understanding the Importance of the Transom
Before diving into the specifics of transom repair, it’s essential to understand why this component is so significant. The transom serves multiple purposes:
- Structural Integrity: It adds strength to the hull, ensuring that the boat remains stable in water.
- Mounting Point: It’s typically where motors are mounted, making it crucial for performance.
- Water Resistance: A well-maintained transom helps keep water out, preventing flooding and damage.
Neglecting transom issues can lead to water intrusion, rot, and structural failure, putting your investment—and your safety—at risk.
Signs of Transom Damage
Identifying problems early is the key to effective transom repair. Look for these signs:
- Soft Spots: Pressing on the transom should yield firm results. If you find areas that feel soft or spongy, this indicates rot.
- Cracks: Look for visible cracks in the transom that could lead to structural weakness.
- Water Intrusion: Check for signs of water seeping into the hull or transom area.
- Excessive Movement: If the motor or fittings show signs of movement when under load, it may indicate a weak transom.
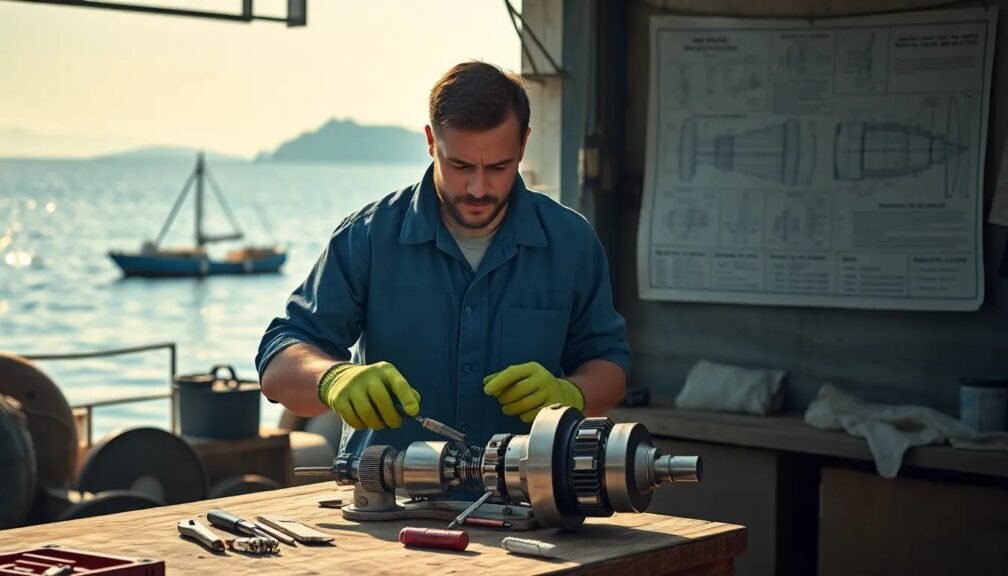
Tools and Materials Needed for Transom Repair
Before starting your transom repair project, gather all the necessary tools and materials:
Tools
- Screwdrivers: For removing hardware.
- Drill: For creating pilot holes.
- Circular Saw: Essential for cutting away damaged wood.
- Chisels: Useful for precision work on joints.
- Sandpaper: Essential for smoothing surfaces before sealing.
- Mixing Tools: For compounds and adhesives.
Materials
- Marine Plywood: Necessary for replacing damaged sections.
- Epoxy Resin: A strong adhesive well-suited for marine environments.
- Fiberglass Cloth: Provides additional strength.
- Sealants: For waterproofing repaired areas.
- Finishing Paint: To protect against weathering and ensure aesthetics.
Step-by-Step Guide to Transom Repair
Step 1: Assess the Damage
Begin by assessing the extent of the damage. If you’re only dealing with surface-level issues, minor repairs may suffice. However, if wood is rotten or the transom has structural deficiencies, more extensive work will be necessary.
Step 2: Remove the Hardware
Carefully remove any hardware mounted on the transom, such as motors, lighting, and other fixtures. Keep track of all screws and fittings, as you’ll need them during reassembly.
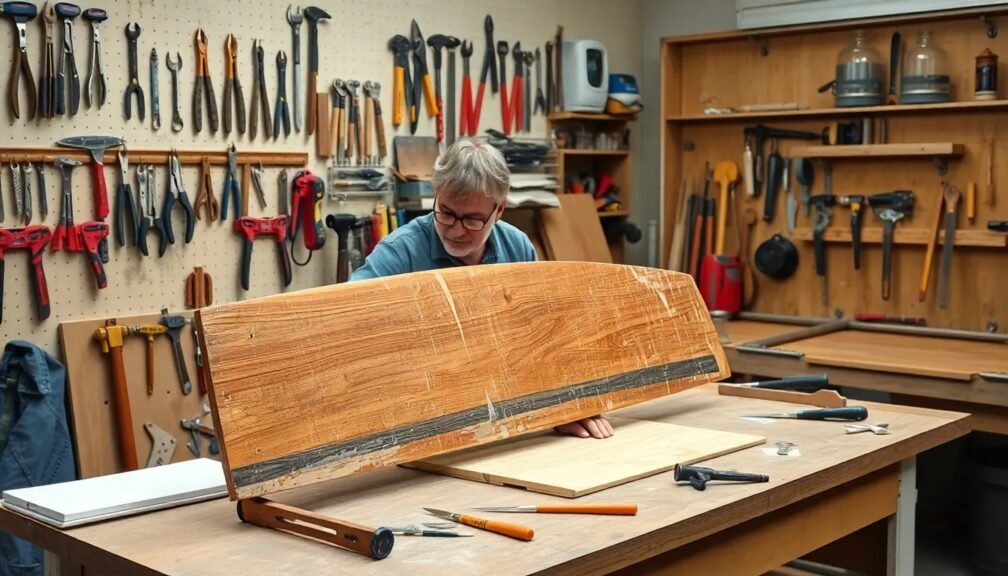
Step 3: Cut Out Damaged Sections
Using your circular saw, remove any damaged wood. Ensure that you cut into sound wood to provide a strong base for your repairs. Aim for clean cuts where possible.
Step 4: Prepare for Replacement
Once you’ve cut out the damaged sections, sand the edges to create a smooth surface for the new material. This step is crucial for ensuring a secure bond between old and new sections.
Step 5: Install New Material
Cut the marine plywood to fit the removed sections accurately. Apply epoxy resin to the edges of the old transom and press the new wood into place. Allow it to cure fully—usually 24 hours—before moving to the next step.
Step 6: Reinforce with Fiberglass
For added strength and durability, apply fiberglass cloth over the new wood. Cover it with more epoxy resin, ensuring that it overlaps onto the existing transom material. This step helps create a water-tight seal.
Step 7: Sand and Finish
Once the resin has fully cured, sand the area smoothly to remove bumps and imperfections. Finally, apply a protective paint or sealant to safeguard against weathering.
Step 8: Reattach Hardware
After the finish has dried, it’s time to reattach any hardware. Ensure all screws are securely fastened to prevent movement.
Maintenance Tips to Prevent Future Issues
Once your transom repair is complete, maintaining it is crucial for long-term integrity. Here are some tips to keep your transom in top shape:
- Regular Inspections: Check your transom regularly for signs of wear or damage. Early detection can save you time and money.
- Sealant Application: Annually apply a fresh layer of sealant to protect against moisture.
- Cleanliness: Regularly clean the transom and surrounding areas to eliminate buildup that could lead to rot.
- Storage Practices: Store your boat properly to shield it from the elements when not in use.
Common Mistakes to Avoid During Transom Repair
Even experienced DIY enthusiasts can make mistakes. Here are some common pitfalls to avoid:
- Rushing the Cure Time: Ensure that all adhesives and sealants have fully cured before using the boat.
- Inadequate Surface Preparation: Failing to sand or prepare surfaces can lead to weak bonds and future repairs.
- Neglecting to Use Marine-Grade Materials: Always opt for marine-grade products designed to withstand harsh conditions.
- Ignoring Air Bubbles: When applying fiberglass, bubbles underneath can weaken the repair; be sure to work out any air pockets.
Conclusion: Empowering Your DIY Skills
Transom repair might seem daunting, but with the right tools, techniques, and patience, you can tackle the project successfully. By understanding the importance of the transom, identifying potential issues, and following a systematic approach to repairs, you equip yourself for long-term success. Remember, regular maintenance is just as critical as the initial repair to ensure your transom remains strong and secure.
So take these top tips for transom repair, roll up your sleeves, and get started on this rewarding DIY project. Your boat—and wallet—will thank you in the long run!