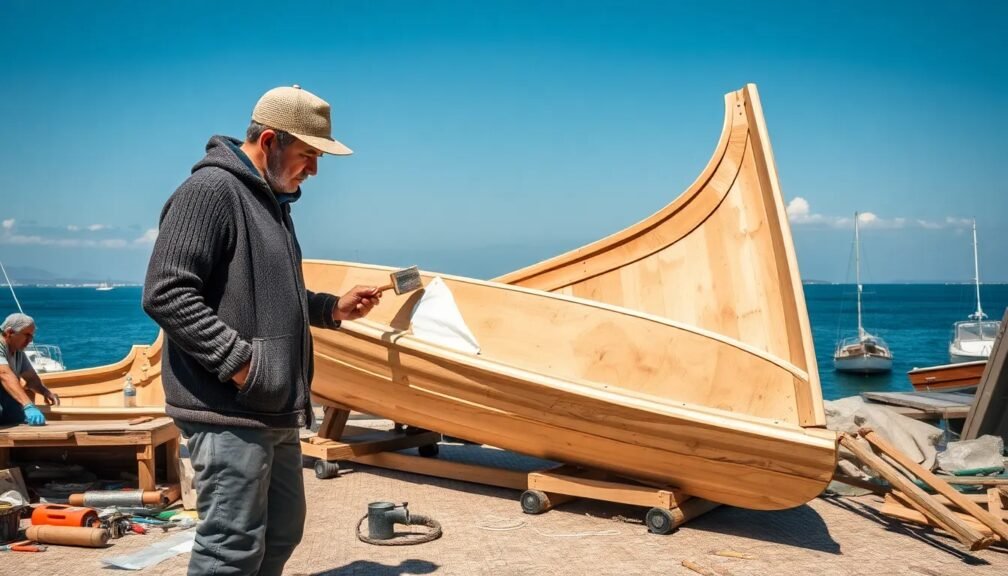
Wooden boats evoke a sense of nostalgia, craftsmanship, and adventure on the high seas. However, like any cherished vessel, these beauties require regular upkeep and occasional repairs. If you’re a DIY enthusiast looking to dive into the world of wooden boat repair, you’ve come to the right place. In this guide, we’ll explore essential tips, techniques, and tools that will help you maintain your wooden boat, ensuring it remains as seaworthy as the day it was launched.
Understanding Wooden Boat Materials
Types of Wood Used in Boat Building
Before diving into repairs, it’s crucial to understand the materials you’re working with. Common types of wood used in boat construction include:
- Teak: Renowned for its durability and resistance to decay, teak is a common choice for the decking of wooden boats.
- Mahogany: With its rich color and grain, mahogany is often used for trim and accents.
- Pine: Often used in framing, this softwood is easier to work with but less durable than hardwoods.
Recognizing the Signs of Damage
Regular inspection is vital for effective wooden boat repair. Keep an eye out for the following:
- Soft spots: Press your fingers against the wood to feel for any softness that may indicate rot.
- Cracks and Splits: Look for visible cracks, especially in high-stress areas.
- Fungus or Mold: Mold growth is often a sign of trapped moisture.
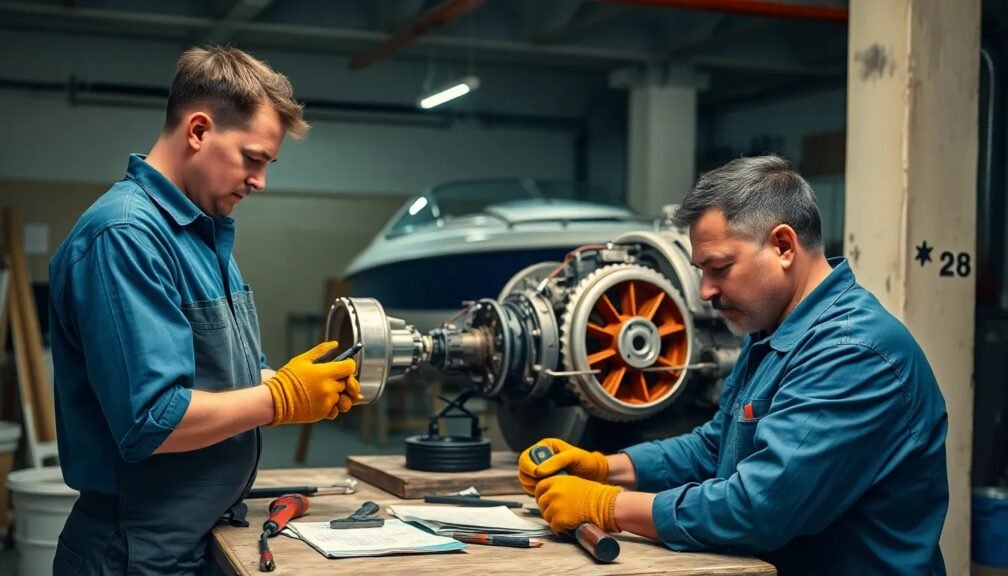
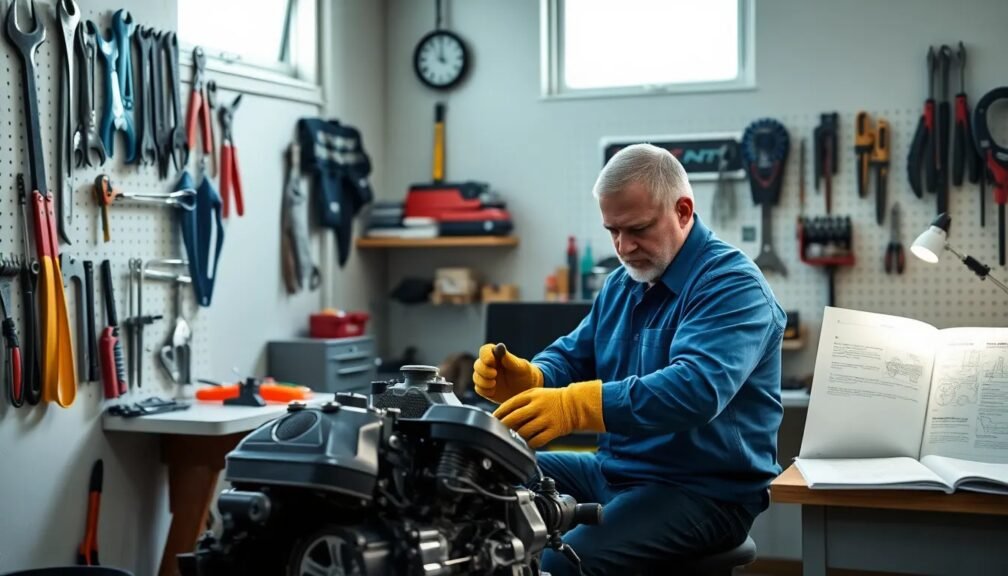
Essential Tools for Wooden Boat Repair
Before you begin your repairs, ensure you have the right tools on hand. Here’s a list of essential tools for wooden boat repair:
- Saws: A circular saw or jigsaw will be necessary for cutting new pieces of wood.
- Sanders: An electric sander will help smooth surfaces before finishing.
- Clamps: They’ll keep your pieces in place while the adhesive sets.
- Wood Glue: Marine-grade wood glue, specifically designed for water exposure, is a must.
- Chisels: Useful for detailed work and cleaning up edges.
- Protective Gear: Safety glasses and dust masks should be worn at all times.
Step-By-Step Repair Process
1. Assessing the Damage
Begin your wooden boat repair project by thoroughly examining the damaged area. Use a probe or a screwdriver to check for rot. If the wood crumbles under pressure, it’s time to replace it.
2. Preparing the Area
Carefully remove any loose or rotting material. If you’re replacing a plank, you may need to unscrew or even saw off the damaged section. Take care not to damage surrounding wood.
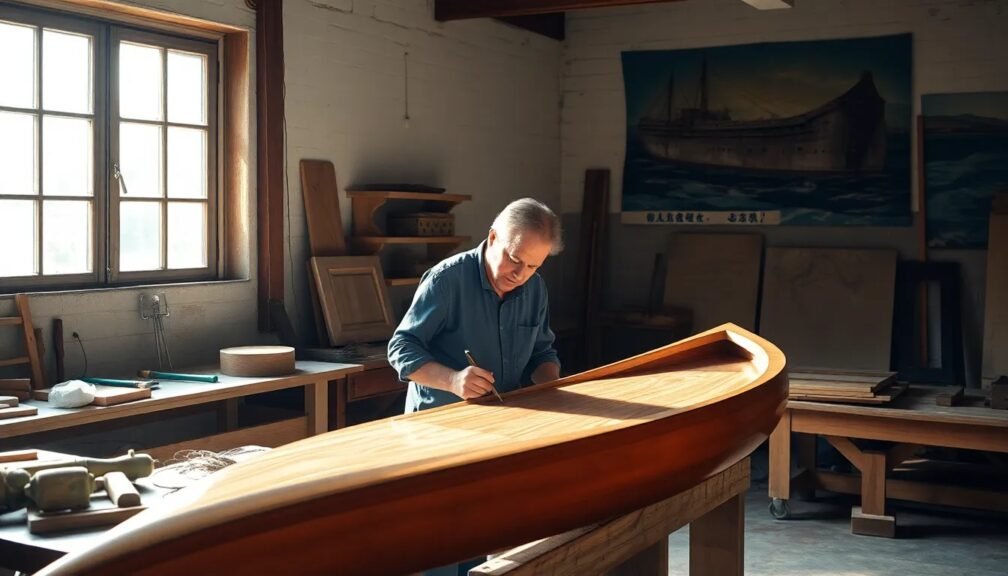
3. Cutting the Replacement Piece
Using your saw, cut the new piece of wood to size. Ensure that it matches the original not just in dimensions but also in shape. If the boat is older, consider using a similar type of wood to maintain historical accuracy and aesthetic appeal.
4. Fitting the New Wood
Before securing the new piece, dry-fit it to ensure it fits correctly. This is an essential step in the wooden boat repair process that can save you time and effort later on.
5. Securing the New Piece
Once satisfied with the fit, apply marine-grade wood glue to both the new piece and the edges of the old wood. Clamp it in place and allow it to dry according to the glue’s instructions. For additional strength, use screws or nails designed for marine applications.
6. Sanding and Finishing
After the glue has dried, sand the area smooth. Follow up with a finish that protects against water exposure, such as marine varnish or wood oil. Not only does this enhance the look of your boat, but it also helps prevent future damage.
7. Final Touches
Inspect your work for any rough edges or missed spots. Apply touch-up varnish where necessary, and consider adding a UV protectant to prevent sun damage.
Tips for Long-Term Maintenance
Regular Inspections
Implement a seasonal inspection routine. Look for signs of wear, especially before and after boating season. Early detection of damage can lead to easier repairs and longer life for your wooden boat.
Effective Storage Practices
Moisture is a major enemy of wooden boats. Store your boat in a dry area, ideally elevated off the ground. Use a cover that allows air circulation but protects against rain and snow.
Keep It Clean
Regularly wash your wooden boat with mild soap and water. Avoid abrasive cleaners that can strip protective coatings. This practice not only preserves the finish but also prevents the buildup of dirt and grime that can lead to rot.
Common Mistakes to Avoid
- Skipping the Inspection: Never neglect routine checks. Early signs of damage can save you time and money.
- Rushing Repairs: Take your time. A well-thought-out repair will save you from future headaches.
- Using the Wrong Materials: Always opt for marine-grade materials. Regular wood products won’t withstand the marine environment.
- Ignoring Finished Work: Properly finish your repairs. This protects against moisture and UV damage.
Conclusion: Embrace the Art of Wooden Boat Repair
Embracing the art of wooden boat repair not only prolongs the life of your vessel but also enhances your skills as a DIY enthusiast. Remember that the joy of owning a wooden boat stems from both its beauty and the effort you put into its maintenance. Each repair can serve as a lesson and a step towards mastering your craft.
With the right tools, techniques, and a bit of patience, you’ll find that wooden boat repair is not just a necessity, but a fulfilling hobby. So roll up your sleeves, gather your gear, and embark on the rewarding journey of wooden boat preservation. After all, every boat has a story, and yours is just beginning.